
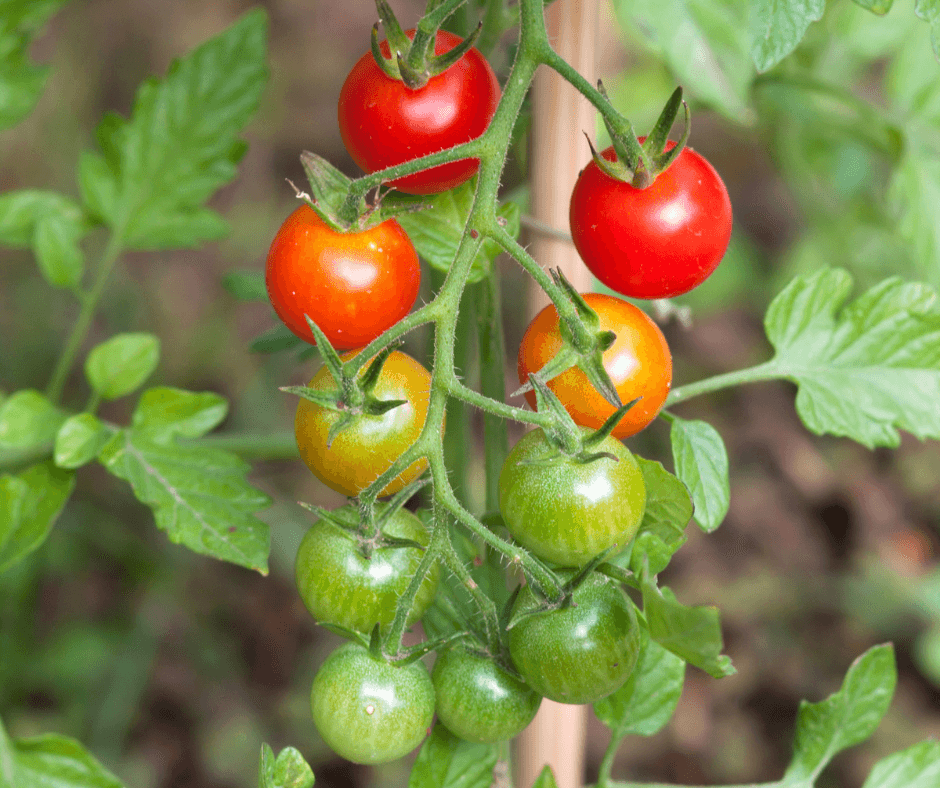
With the holidays in the rearview mirror and the New Year launched, it is time to check out the new vegetable varieties from seed vendors. Most 2021 catalogs are up now online, and many companies still send paper editions as well. Whether you aim to grow a simple pot of cherry tomatoes on the balcony or an acre of diverse vegetables, the New Year brings an array of hot new choices.
The trends are easy to spot. Tomatoes of all shapes, sizes, and colors are still champion sellers. Color, in the garden and on the plate, is in fashion, with vendors offering old standard vegetables in new, often brilliant hues. Heirloom varieties remain popular, as are compact plants suitable for small spaces and containers. Micro-greens abound. Ease of preparation (think stringless green beans and thin-skinned squash) are also frequent features of this year’s new varieties.
New Tomatoes
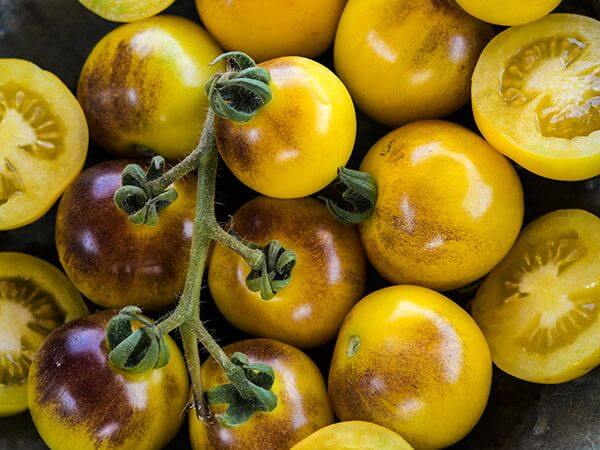
New tomato varieties are popping up everywhere, promising great taste and adaptability to small spaces–from the prolific ‘Ella Bella’ cherry variety, with sweet, firm red fruits, to ‘Thorburn’s Lemon Blush’, a large, beefsteak type with pink-blushed yellow skin, the catalogs are packed with new tomatoes. Other notable newcomers are the sweet ‘Bosque Blue Bumblebee’, a standard-size cherry variety that starts out blue and ripens to yellow with a blue blush close to the stem, and the heavy-fruiting, sweet, compact Funnyplums varieties that grow beautifully in containers or hanging baskets and come in red, orange, or yellow-fruited forms.
There is nothing like a tomato sandwich at the height of the growing season, and that is only one of the many uses for large slicing tomatoes. New varieties like ‘Marnouar’ and ‘Cubalibre’ bear large (10 to 16 ounce) fruits on vigorous, disease-resistant plants. The tomatoes have an heirloom look, with near-black streaks on dark red skin.
If you aim to make sauce and need a plum tomato variety, try the new ‘Plum Regal’, with broad fleshy fruits and good disease resistance.
New Ornamental Edibles
Modern vegetable gardeners want horticultural daily doubles—plants that look good enough to be grown as ornamentals and taste good enough to win over even the pickiest eaters. It doesn’t hurt that those colorful vegetables also look Instagram-ready on the plate.
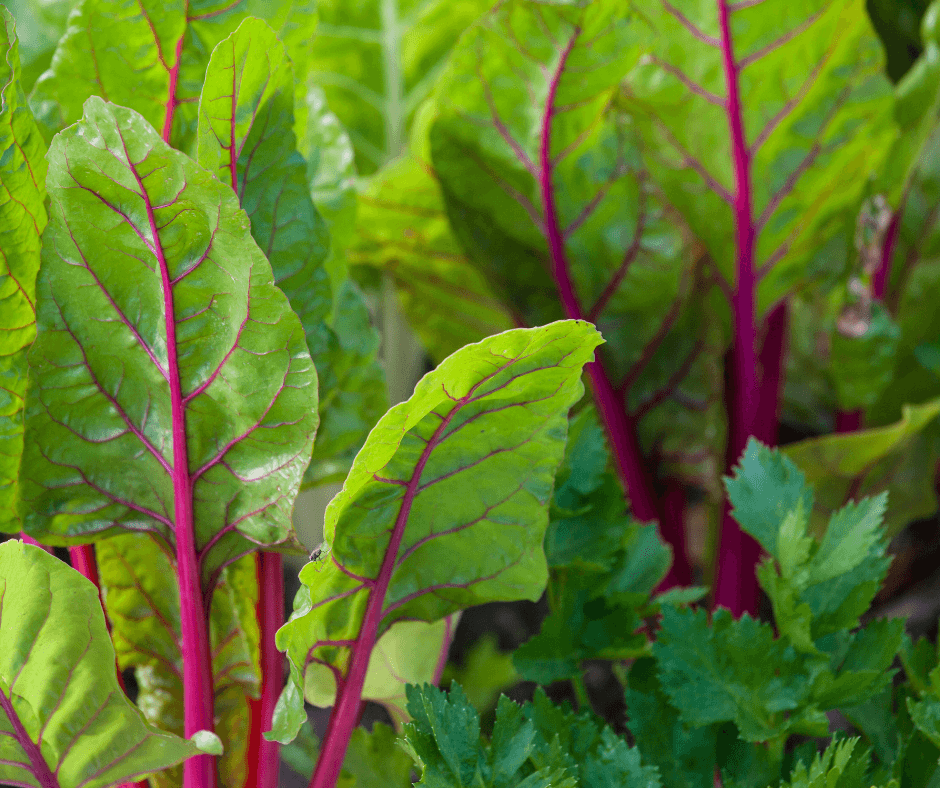
Many of the hottest new varieties come in unusual colors. ‘Celine’ bush beans are traditional wax beans with a twist– purple pods and yellow interiors. The ‘Snowball’ bell pepper tastes like a traditional green bell pepper but with white skin that matures to ivory. ‘Charbell‘ Swiss chard is a potential garden brightener, with bright magenta stems, good disease resistance, and high performance.
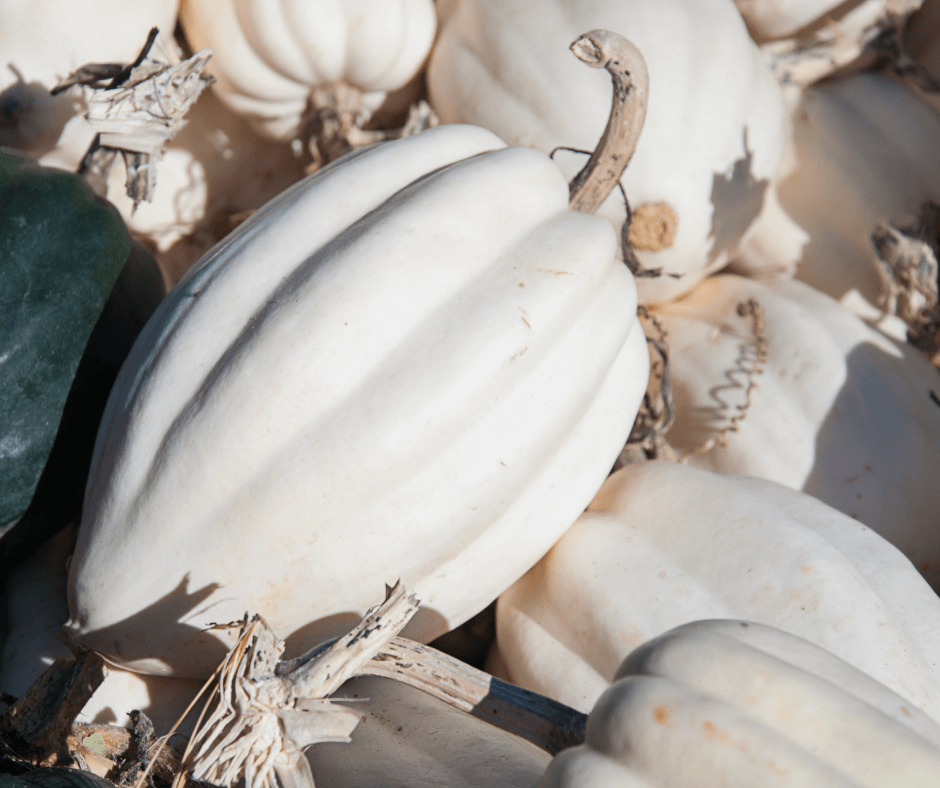
Acorn squash is normally dark green with orange flesh. Squash lovers can change things up with ‘Mashed Potatoes’ acorn squash, which boasts white rind and flesh. Sellers suggest using the squash as a lower-calorie mashed potato alternative.
The color purple continues in fashion, sported this year by a number of new vegetables. ‘Purple Peacock’ broccoli features tasty, small florets atop frilled leaves. ‘Ultra Violet’ mustard bears purple stems with purplish-green leaves. Chinese cabbage lovers wishing for a little more excitement will relish the purple-leafed ‘Merlot’.
Everything Old is New—The Heirloom Craze Continues

By definition, heirloom varieties are not new, but some have been rediscovered or reintroduced for 2021. The ‘Iroquois Skunk‘ pole bean looks and tastes much better than the name suggests, with mottled, blue-black pods encasing white beans. ‘Pippin’s Golden Honey’ bell pepper is an heirloom that was long grown and used in Philadelphia’s Black community. The lovely purple flowers develop into fruit that morphs from dark purple to yellow and finally to orange as the peppers ripen. The ‘Tall Telephone’ garden pea from the nineteenth century is a traditional variety characterized by heavy production. For something really dramatic—inside and out—try the ‘Silver Edge’ pumpkin, a Mexican heirloom that is streaked green and white on the outside, with tasty peach-colored flesh and large, edible seeds that are white with silver edges.
More Hot New Vegetables
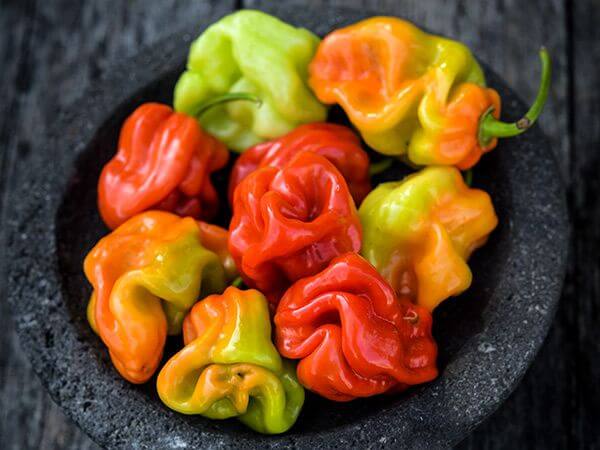
Gardeners who want to turn up the culinary heat have a plethora of choices this year. Hot peppers abound, including ‘Aji Chombo’ from Panama, which features heat comparable to Scotch Bonnet peppers with a fruity flavor to balance that heat. ‘Black Magic’ jalapeno peppers are dark green-black with traditional jalapeno flavor and intensity.
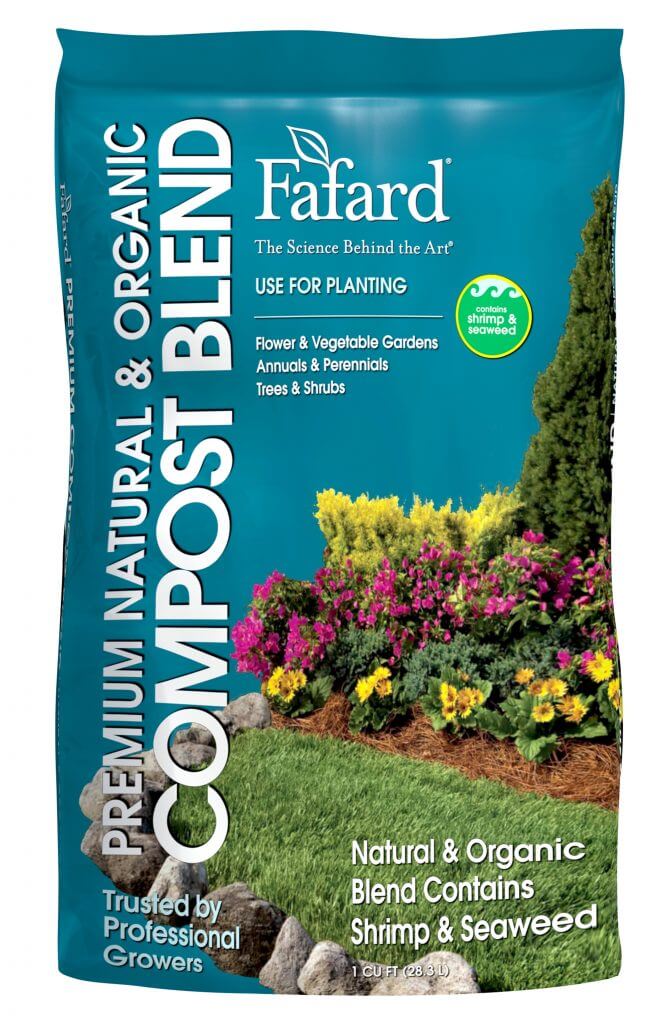
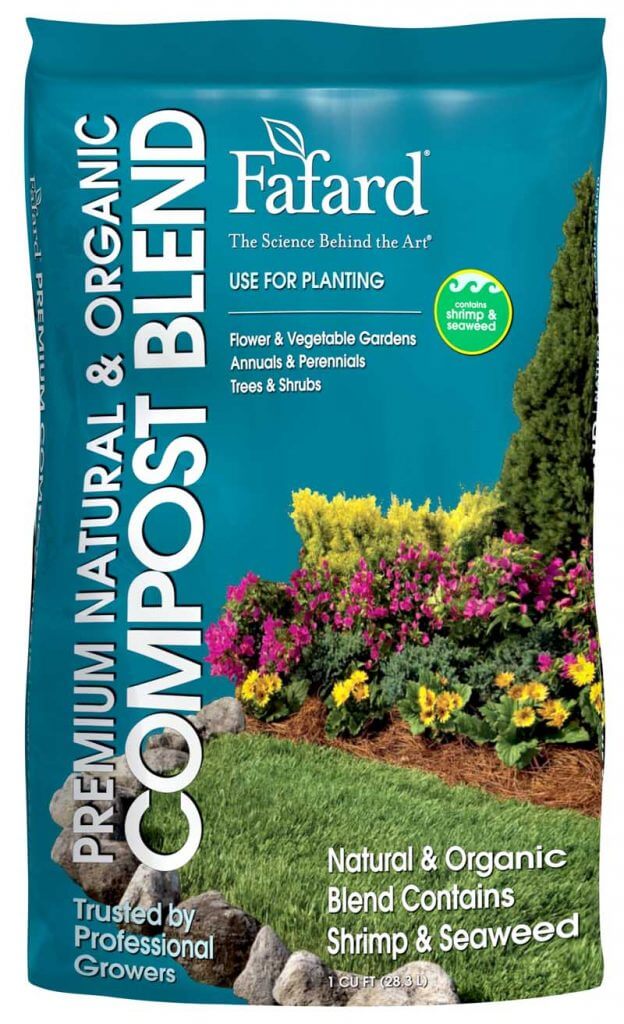
Growing from seed is one of the best ways to try out new and different vegetable varieties. If you are starting seeds indoors, use a quality potting mix, like Black Gold Seedling Mix. For direct-sown varieties, clean and prepare planting beds by amending the soil with organic matter. Enriching your garden soil with Fafard Premium Natural and Organic Compost will get your hot new vegetables (as well as old favorites), off to a great start.