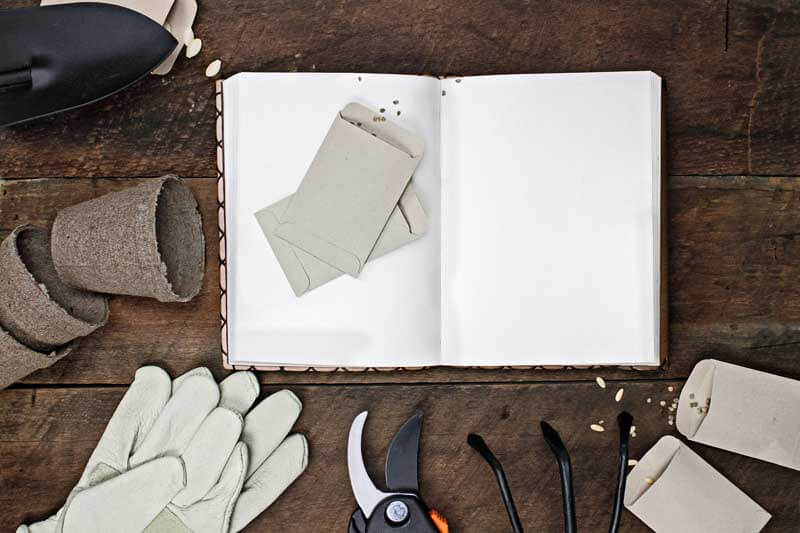
The cusp of the New Year is not prime gardening season in much of the United States. But, it’s often an excellent time to map and design a new garden or planting border, even in areas that experience real winter. All that is required are bare ground, a relatively mild day, and a few common household items.
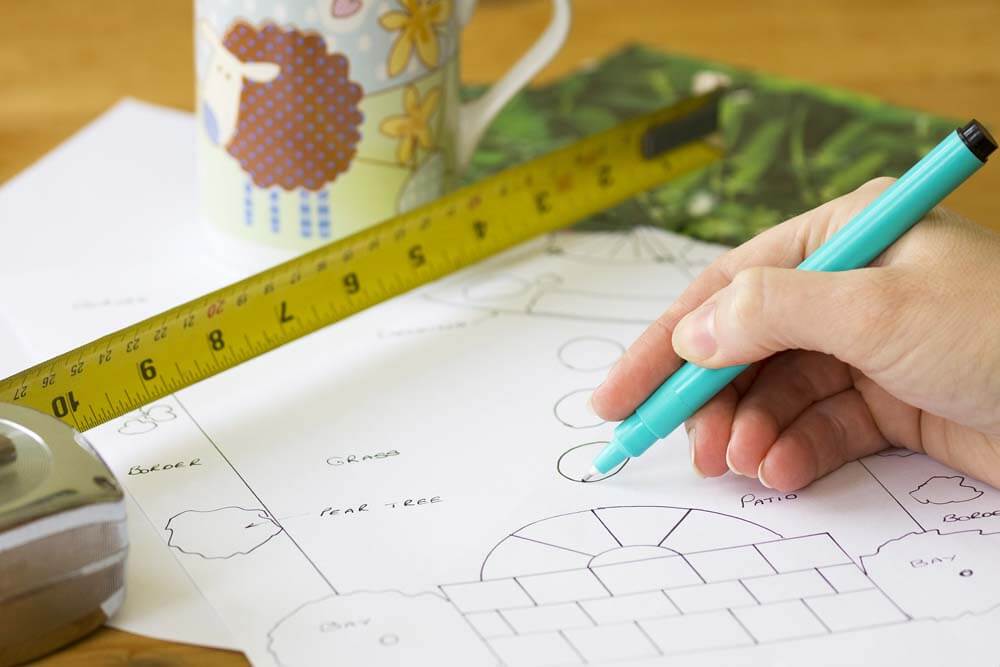
Start by considering the garden’s location, size, shape, and desired plants and their growing needs. Roughly sketch out your basic plans. At this stage, don’t worry about precision or specifics. The finer details will be worked out later.
Setting the Garden Perimeter
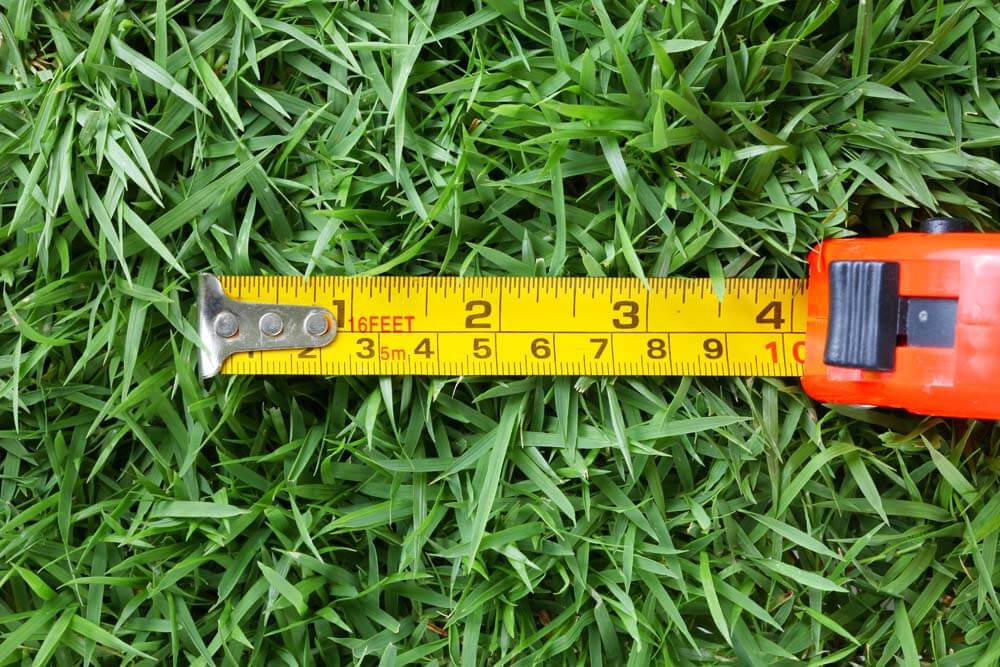
Once you have sketched basic garden perimeter designs on paper, grab a couple of tape measures and a notepad and pen (or smartphone) and head out to the new garden site. A 50- to 100-foot tape measure with a tip that you can stake in place is extra-useful. If necessary, also bring a garden hose to mark portions of the prospective border’s perimeter that aren’t already defined by paths, walls, and the like. Place stakes along any hose-defined edges so that you’ll have something to refer to after you return the hose to its winter quarters.
A border with at least one long, straight edge is a cinch to map. At regular intervals (5 feet usually works well), measure the perpendicular distance from the straight edge to the opposite side of the border. Also, measure the distances to any extant plants and features that will remain as part of the new garden. Transcribe the data to graph paper and – voila! – you have an accurate map of your soon-to-be-border.
A border with curving edges is somewhat trickier to map. In this case, extend the tape along the approximate “equator” of the border, and measure the perpendicular distances from the tape to both edges at regular intervals. Compared to the straight-sided border, a few more dots and a bit more freehand sketching are required to translate these measurements to graph paper.
Mapping the Garden
A landscape design template is an especially handy implement for the drawing and mapping stage. You can purchase one (as well as graph paper) from most art- and drafting-supply stores, as well as online. It also helps if you have an image of your home’s footprint and yard to sketch upon and include for perspective. This will also help ensure that your garden is placed within your yard’s boundaries.

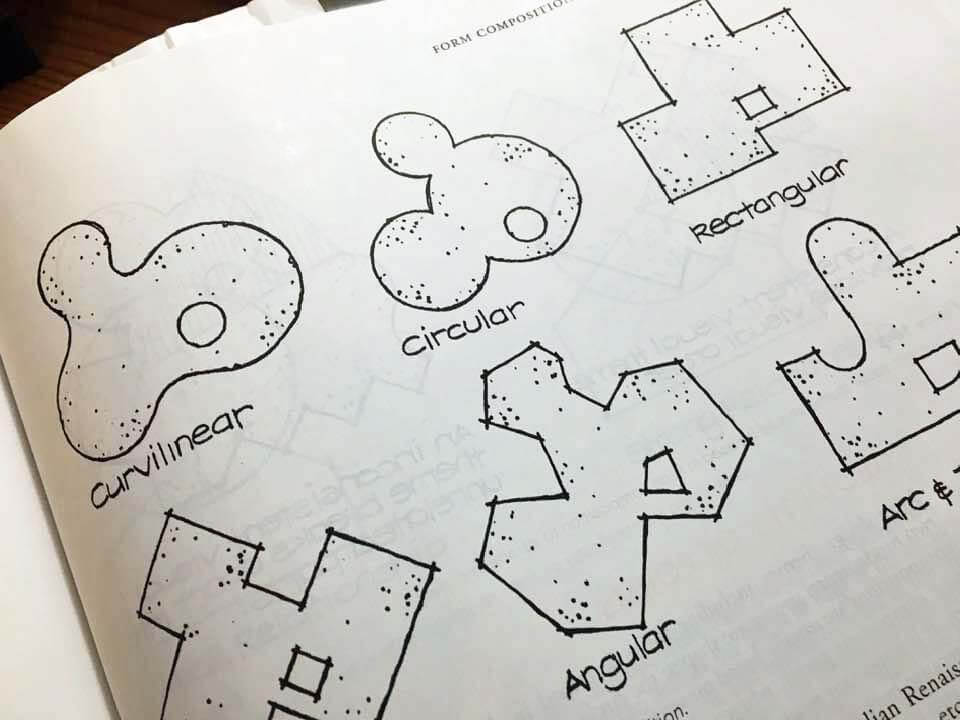
(Image from Residential Landscape Architecture)
To map the border’s location relative to the house, measure the length of the nearest side of the house, and the distances from its corners to the ends of the border. Using graph paper and a ruler, compass, or landscape design template, lightly sketch a curve representing the distance from the one corner of the house to one end of the border. Repeat for the distance from the other corner of the house. The intersection of these curves pinpoints the end of the border. This technique also works if you’d like to map the border’s relationship to other landscape features such as property lines.
Choosing Plants for the Garden
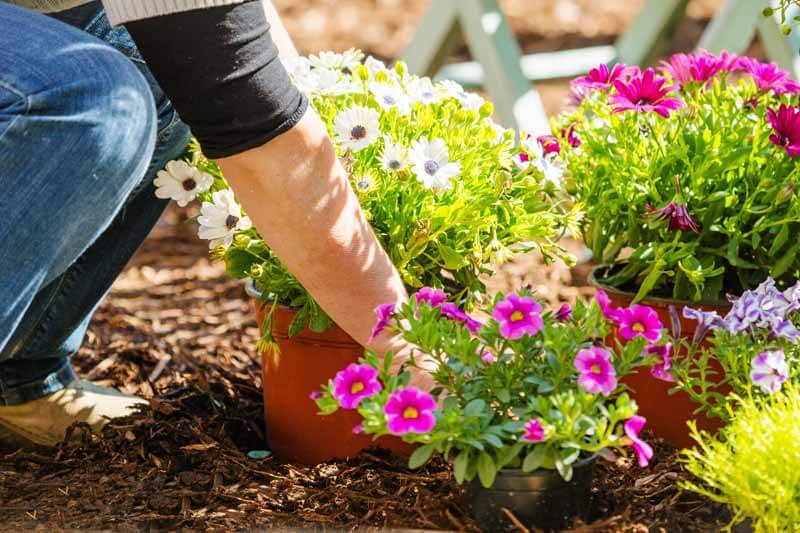
Next comes the really fun part – choosing plants. Given the border’s conditions and surroundings, what would grow and look well there? Compile a list of candidate garden plants that would provide a pleasing mix of flowers, foliage, shapes, sizes, and textures. When you’re happy with your list, start to play around on paper, beginning with the major “keystone” perennials, shrubs, or trees that will form the backbone of the new planting. A composition of rhythmically spaced “keystone” specimens – interspersed with clumps of smaller companion plants – generally works well. Lightly pencil-in a circle for each plant, spacing the circles according to plant size and vigor. Use a complete circle to represent individual specimen plants (often trees or shrubs), and fused circles (omitting their inner portions) to depict clumps.
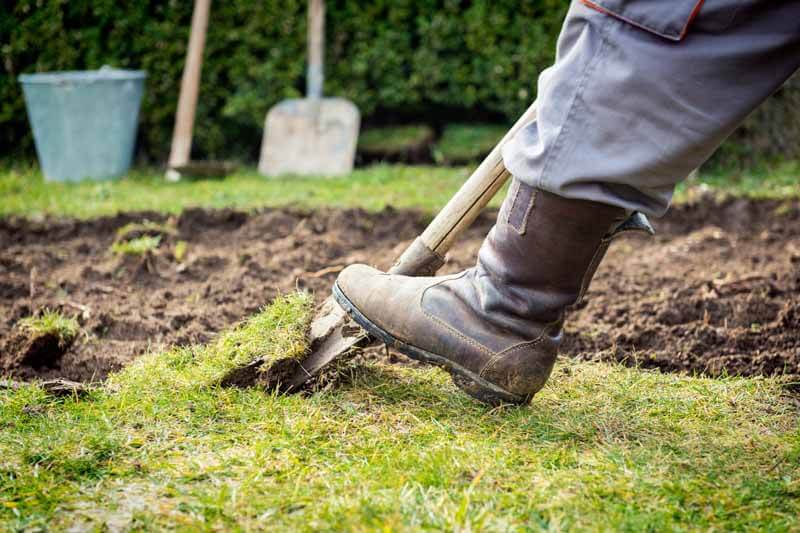
Once you have a good handle on the design of your new border, you can start planning how to execute it. It’s never too early to start sourcing and ordering plants (especially rarities that are likely to sell out early). You also need to consider how you’re going to prepare the border site. Is the site currently occupied by grass or by other plants that will need removing? Now’s the time to formulate a strategy.
Perhaps you’ll decide to rent a sod cutter come spring to remove turf from the site. Or maybe sheet composting is the way you’d like to go. Solarization – blanketing the site with heavy plastic to fry the existing vegetation as well as the weed seeds that lurk in the soil – is another excellent approach that works particularly well if you plan to hold off on planting until fall. A soil test might also be in order, whenever as the ground is workable (most state extension offices offer soil testing at a reasonable price). Finally, what’s your mulch of choice going to be? Now’s the time to find a source.
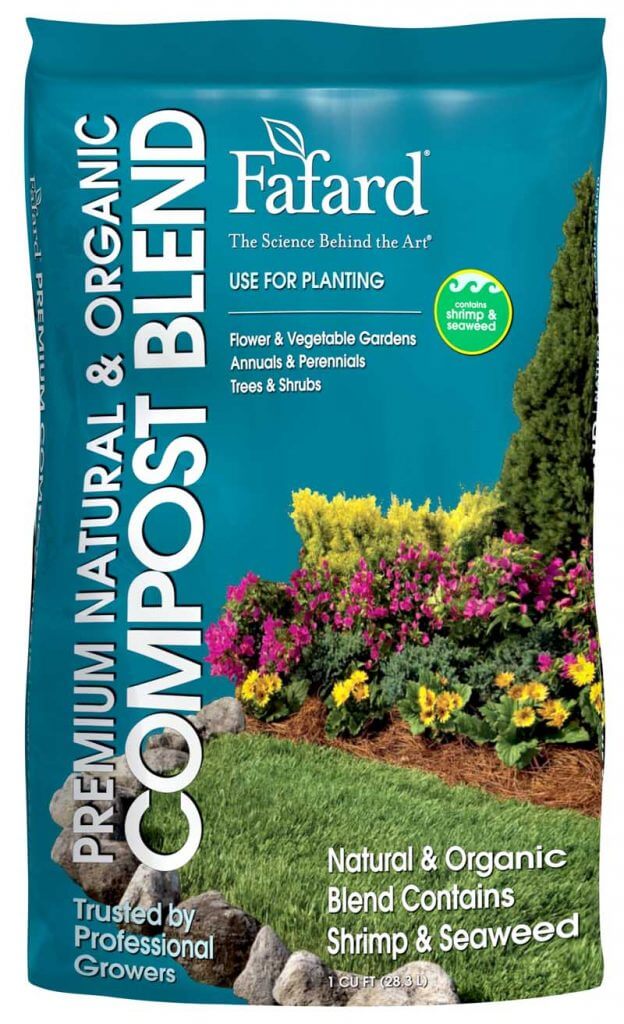
Whatever strategy you choose, you’ll likely need compost and soil amendments to improve the soil. If so, you’ve come to the right place! Fafard offers a bevy of such products, including Fafard Premium Natural & Organic Compost Blend and Fafard Premium Topsoil.
Happy planning – and planting – in 2020!