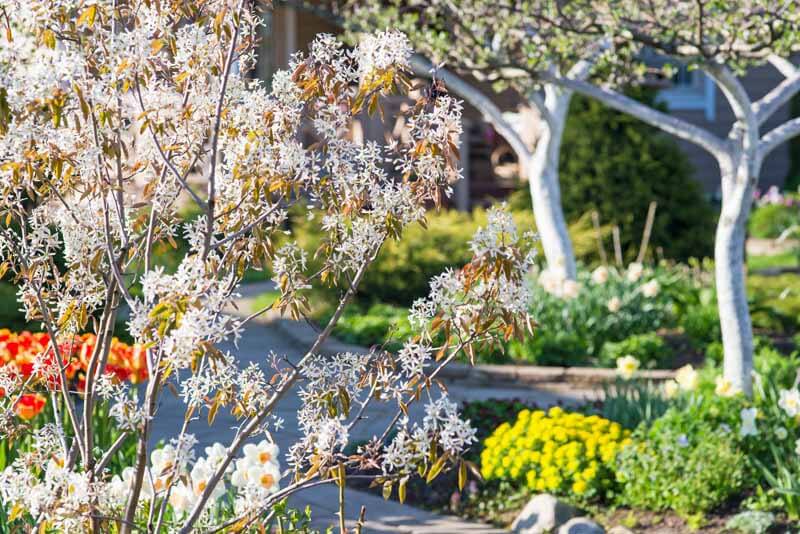
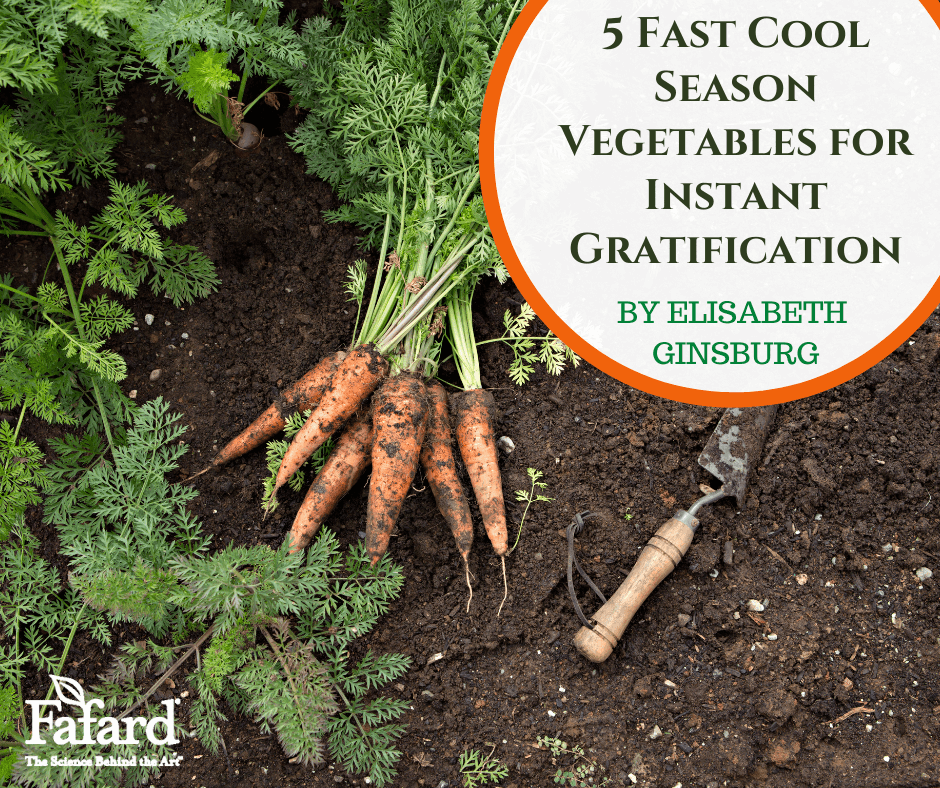
“Patience is a virtue,” says the old adage, but sometimes even the most virtuous gardeners long for a little instant gratification. Succulent tomatoes and winter squash are a great reward for a season of waiting, but not all edible plants require a long growing period. In the cool growing season of early to mid spring and fall, you can have your salad and eat it too—sometimes in as little as 30 days—as long as you choose the right varieties and provide them with a bit of sunny space.
Always check the seed packets of various varieties for specific directions and the approximate number of days to harvest. Quick-growing veggies can generally be harvested in less than 55 days from sowing. The following is a list of five of the tastiest and most popular instant gratification crops.
Mesclun Mix
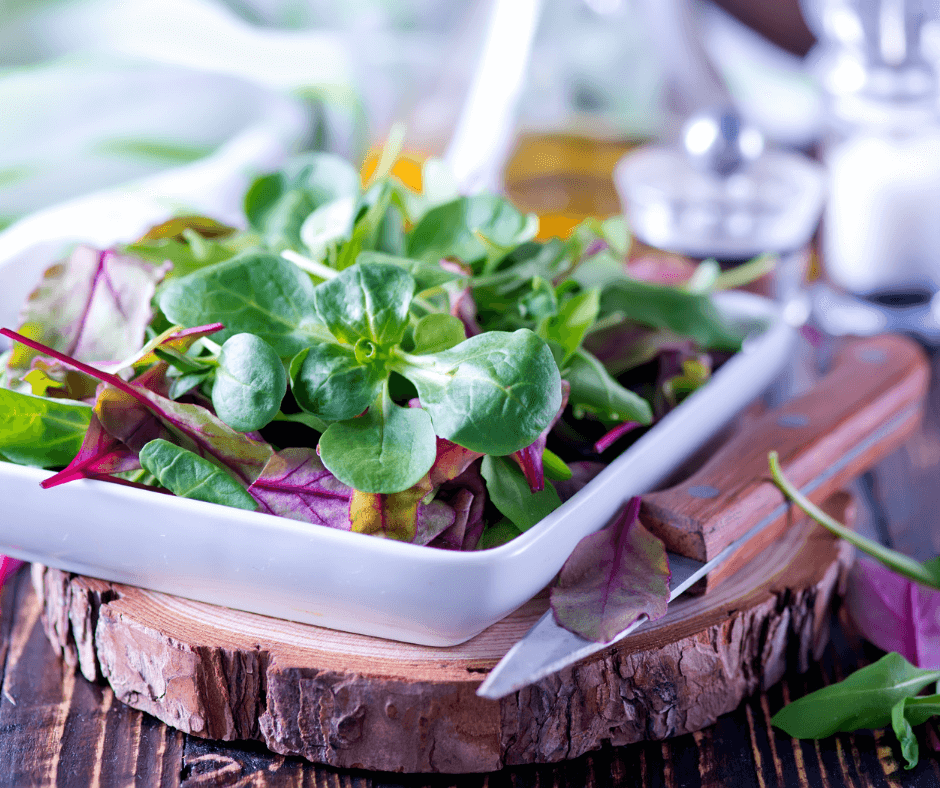
This widely-marketed greens seed mix usually contains an assortment of early lettuces and other fast greens. Depending on the seed producer, mesclun is sometimes also labeled “early spring mix” or “mixed baby greens”. Some vendors offer a variety of mesclun mixes to suit different tastes and seasons. No matter what the mix, the tiny seeds produce a crop of tasty small leaves in about 30 days, which is lightening-fast by garden standards.
Mesclun is easy to grow in containers, raised beds, or conventional garden beds. Sprinkle the seeds over moist soil, and do not cover because lettuce seeds need light to germinate. Water deeply using gentle spray. Sprouting should occur relatively quickly. The young greens can be harvested when the leaves are 4 to 6 inches long. Succession planting every two weeks in spring and fall ensures a continuous crop.
Relish the Radish
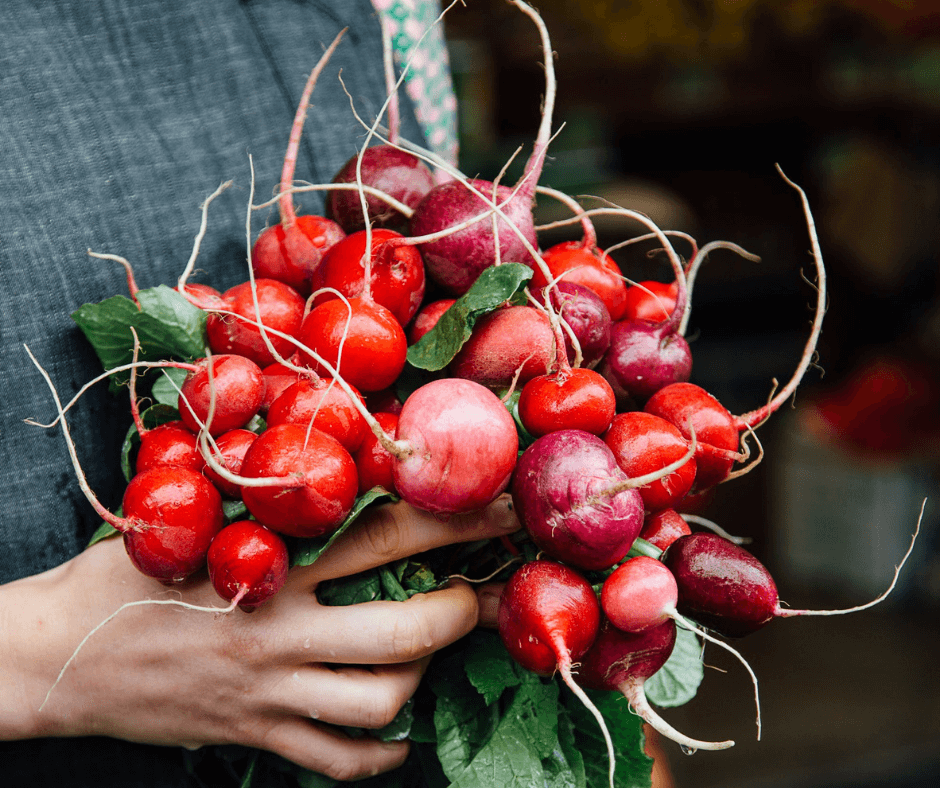
Radishes add a peppery bite to salads, sandwiches or all by themselves with a little sweet butter and salt. Radish lovers can rejoice in the fact that they are also quick to grow. For fast growth, select extra-early varieties, like ‘Rover’ or Easter Egg Mix. Sprinkle seeds over the soil and cover thinly with soil or mix. When the sprouts reach about 2 inches tall, thin to 3 inches apart. The young radishes should be ready in about 30 days. The best way to detect readiness is to pull one, wash it, and taste it. As with mesclun, succession sowing will provide you with a consistent radish supply.
Baby Carrots
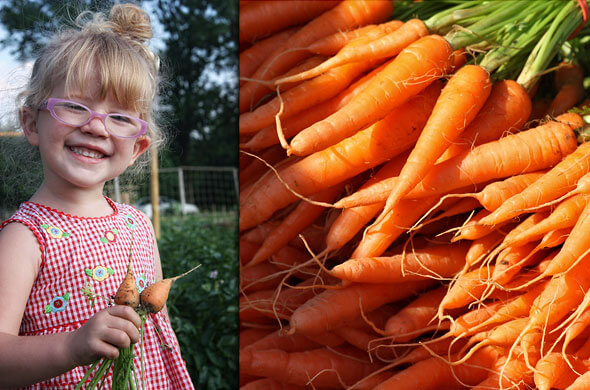
Veggie lovers know that the “baby carrots” you buy in bags at the supermarket were actually sculpted from regular-size carrots at a processing plant. In-a-hurry gardeners can have the genuine article—real diminutive carrots—in about 55 days from sowing. Little carrots are excellent choices for container growing as well. Pick a small-size carrot variety, like ‘Caracas Hybrid’ or ‘Adelaide‘, and sow thinly in loose soil to which compost has been added. A product like Fafard® Premium Natural & Organic Compost is perfect for this, providing the carrots with the lightened growing medium they need to produce straight roots. When seedlings emerge, thin to one inch apart. Water consistently whenever the top of the soil feels dry. At the 55-day point, or even a little earlier, pull one of the carrots. If it seems big enough, you are ready for harvest.
Spinach

Popeye may have eaten his spinach straight from the can, but he knew that the leafy greens are tasty and exceptionally good for you. Spinach is also a boon for impatient gardeners. Like other fast-growing veggies, it is also perfect for container growing, which should be music to the ears of those afflicted with deer, rabbits or other garden varmints. For container success, pick a smaller spinach variety, like ‘Melody’ or ‘Red Kitten’. Sow seeds about one inch apart in a planting medium that is pH neutral and enriched with plenty of compost. When the seedlings emerge, thin to two to three inches apart. The spinach harvest should be ready in about 40 days, depending on the variety.
Bok Choy
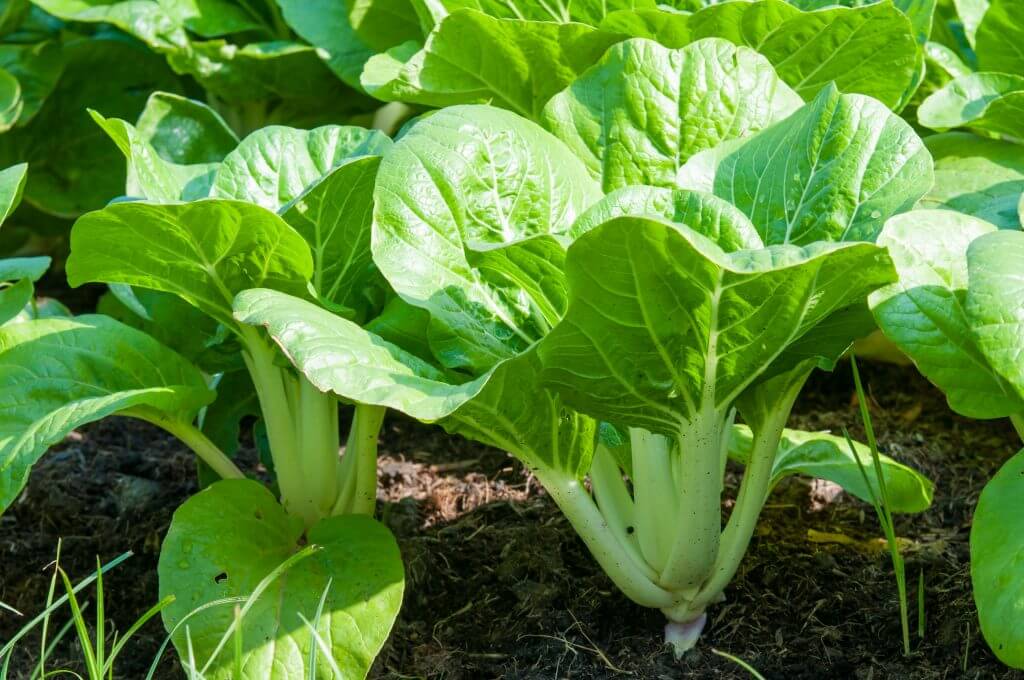
Sometimes also known as pak choi, this Asian member of the cabbage family has become increasingly popular for home gardeners, who use the mild-flavored leaves in everything from stir-fries to salads. For speedy results and/or container growing, choose dwarf varieties that can be harvested after about 40 days, when they are less than 10 inches tall. As with other fast growers, sow seeds about two inches apart, cover with a thin layer of soil and keep uniformly moist. Dwarf varieties can be thinned to three inches apart. Harvest the entire head, as you would a cabbage.
Fast-growing vegetables are a great way to hit the ground running in spring, but most have a tendency to “bolt” as the weather warms, flowering and sprouting bitter leaves when summer’s heat sets in. Save leftover seed for the second cool season in the fall, when you can rejoice in baby greens and radishes all over again.