
Looking to create truly sustainable vegetable gardens? Try a layered hugelkultur garden! These raised gardens layer in organic material to create deep reserves of truly rich soil for vegetables. They also allow gardeners to use yard waste, such as leaves, grass clippings, logs, and branches, for no-waste vegetable growing.
Hugelkultur

Hugelkultur (meaning “hill culture” in German) is a European planting style that uses permaculture methods to create fertile planting beds rich in organic matter and microorganisms. Designed for food production, the raised “hugel” gardens rely on a base of hardwood logs, branches, compost, and topsoil which, as they slowly decompose, increase fertility and water retention.
Hugels can be as small or large as desired and should be sited in sunny spot that’s flat and spacious. They can be built from reclaimed materials from your own property or a friend’s yard. This will help you save money and increase the garden’s sustainability. Here are the materials and directions for making one.
Materials:
- Hardwood Logs (Decomposing logs hold more water and break down faster.)
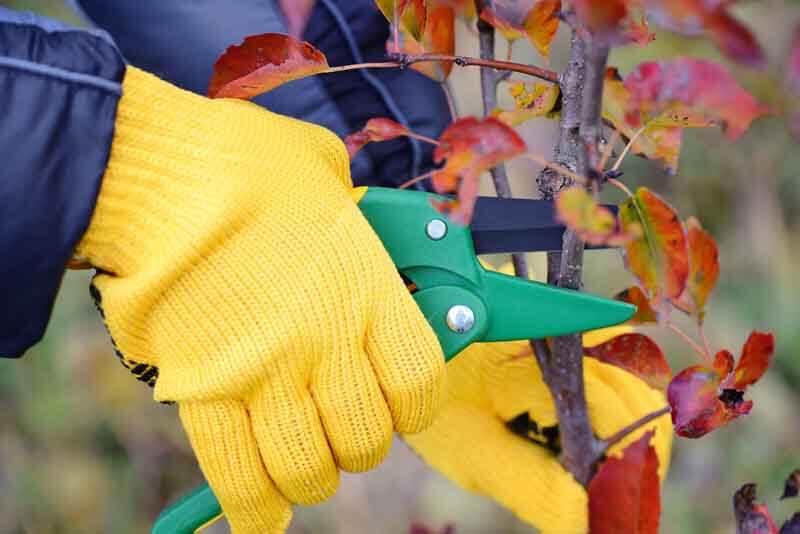
- Trimmed Branches
- Grass Clippings, Leaves, or Leaf Mulch
- Fafard Premium Natural & Organic Compost Blend
- Fafard Premium Topsoil
- Straw
- Vegetable and Herb starts
Directions:
Outline the Bed: Create the hugel base by lining up your hardwood logs. Place larger logs along the outside and smaller logs along the inside. (You can also dig out a furrow to deeply set your logs, but this is not necessary. Large logs can create substantial outer supports for hugel beds. Some hugels are even outlined with rocks, logs, or even woven willow wattle for extra support.)
Layer in Branches and Smaller Logs: Line up smaller branches within the log frame—trim large or unwieldy branches for a tight fit. A 2-foot layer is recommended.
Compress Branches: Press and stomp down branches to reduce air pockets.
Layer in Leaves and/or Grass Clippings: Layer in your leaves, leaf mulch, and/or grass clippings, being sure to pack everything between the branch layers.
Add Compost: Add in a thick layer of Fafard Premium Natural & Organic Compost. Poke the compost down into any remaining pockets. Good soil-to-wood contact will help your branch layer break down faster.
 Add Topsoil: Add a final layer of Fafard Premium Topsoil and rake and shape your hugel to form an attractive mound. (Some hugelkulture guides recommend pyramidal hugel beds, but these are prone to erosion and difficult to plant. A rounded mound with a flatter top is better.)
Water: Gently water in your hugel for at least an hour to allow moisture to seep deep down. This also encourages settling and will reveal any areas that might need extra topsoil. Let the hugel settle for a day or two before planting.
Add Straw Layer and Plant: Cover the hugel with a 2- to 3-inch layer of straw, leaves or grass clippings to hold down the soil and reduce weeds. Simply move areas of straw aside to plant in your vegetables and herbs.
Hugel beds will slowly break down over several years as the wood layers decompose, and as they break down, they will lose loft. Each year it helps to add a new layer of compost and straw to further enrich the beds and keep them weed free. In time, they will take on the appearance of more traditional bermed garden beds with the added benefit of very deep organic matter.