Articles

Bayberry for Landscapes and Candle Making

Bayberry for Landscapes and Candle Making Featured Image
Bayberries are tough, shore-side shrubs with the most fragrant, waxy berries. Bayberry for Landscapes and Candle Making (Image by Jessie Keith)

When we visit Cape Henlopen, Delaware along the Atlantic coast in fall, I always enjoy plucking a few waxy bayberries to rub between my fingers on the way to the beach. Their warm, familiar scent quickly fills the air. My children like the aroma, too, and it’s no wonder. Bayberries have been a staple of American candle and scent making since colonial times and earlier. But, they offer even more; utility, resilience, and adaptability, make these tough, native shrubs perfect for shore-side and inland landscapes.

Bayberries (Myrica spp.) have other unique attributes that give them a shore-side edge. They tolerate salt, moist soil, set deep roots, and grow well in sand or clay. Most importantly, they are able to convert atmospheric nitrogen into soil-bound nitrogen, like plants in the pea family (legumes). That means that they fertilize themselves and plants around them. (Click here to learn more about other garden plants that feed the soil naturally.) The berries also feed native birds, such as Carolina wrens, through winter.

Good Bayberries for Gardens
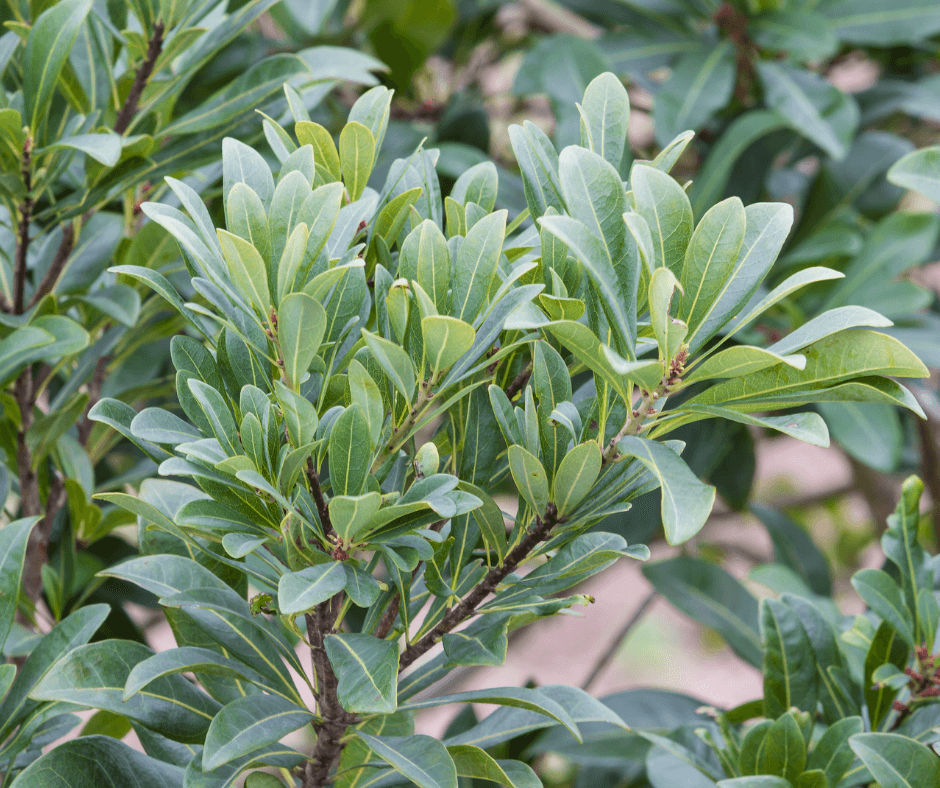
Northern bayberry
Northern bayberry loses its leaves in winter, but has attractive dense foliage in the growing months.

Before planting bayberries, it is important to understand that they are dioecious, meaning that some shrubs and male flowers and others have female flowers. That means that a male and female are needed in the landscape for fruitset.

Northern bayberry (Myrica pensylvanica, Zone 3-8) is a deciduous shrub that produces some of the finest smelling bayberries. It tends to become quite a large shrub reaching 5-12 feet, but there are a number of varieties that stay much smaller. Southern Bayberry (Myrica caroliniensis, Zones 6-10) the evergreen is similar in most traits other than foliage but is far less available at plant nurseries.

Bobbee™ (Myrica pensylvanica ‘Bobzam’) is a female variety that reaches 4-6 feet and bears copious waxy fruits on stems lined with deep green leaves.

Silver Sprite™ (Myrica pensylvanica ‘Morton’):  A compact female that has grey-green foliage, bears many fall fruits that are excellent for candle making, and has dense branching, and a tidy broad-oval habit. Mature specimens can reach 4 to 5 feet high and 6 to 7 feet wide. Plant it with Male Silver Sprite™ (Myrica pensylvanica ‘Morton Male’), which has the same habit but produces make flowers. The leaves of both turn deep purple in fall.  
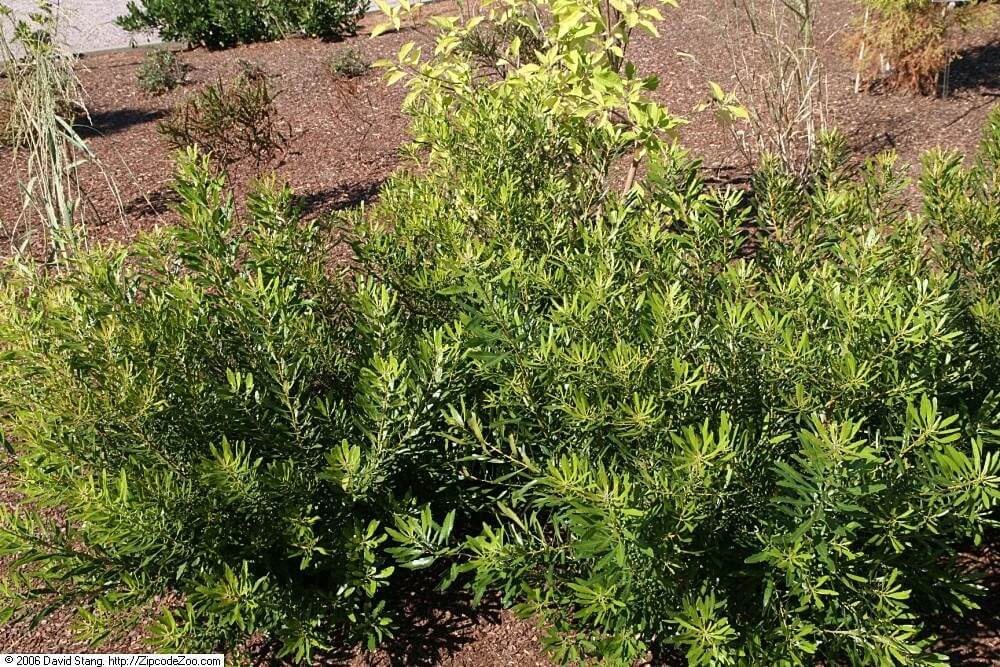
Wax myrtle
Wax myrtle is evergreen and female plants produce lots of fragrant berries. (David J. Stang)

Wax Myrtle (Myrica cerifera, Zones 6-10) evergreen foliage makes this Oceanside bayberry great for home landscapes. In the wild, it commonly dots the dunes and beaches from New Jersey down to Florida. Uncultivated specimens can form small trees reaching 10-15 feet, but there are plenty of dwarf varieties well suited to home landscapes. The small, tidy ‘Don’s Dwarf‘ (3 feet), with its blue-green fruits and olive-green leaves is one of the best and most widely available.

Planting and Care

These adaptable shrubs will tolerate excess moisture and drought once established. At planting time it helps to feed the soil with a quality amendment, such as Fafard Topsoil. (Click here to read more about how to site and plant trees.)

Prune large specimens liberally, as needed, after flowering or fruitset. Compact varieties only need light pruning and shaping early in the season. August and September are often the best months to collect berries for harvest. If you have them in your landscape, be sure to leave a few for the birds.

DIY Homemade Bayberry Candles
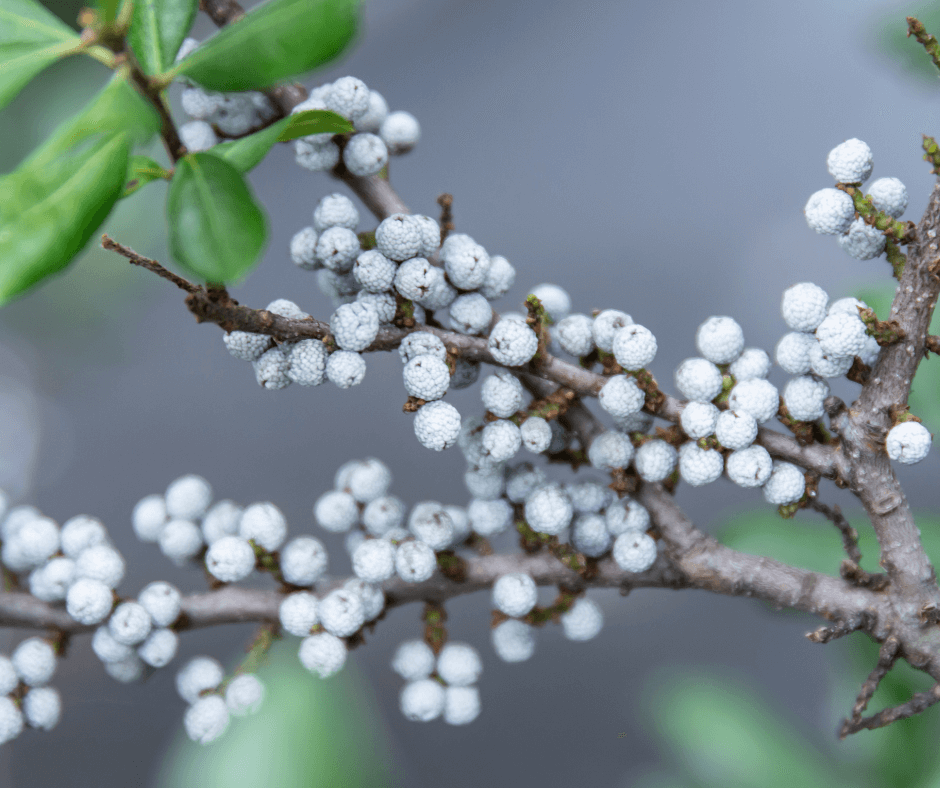
The waxy berries of Myrica cerifera and M. pensylvanica
The waxy berries of Myrica cerifera and M. pensylvanica are copious and covered with fragrant wax nodules.

Ingredients

  • 4 cups bayberries
  • 5 cups of water
  • Saucepan (just for candlemaking)
  • Cotton wick
  • Clothes Pin and Popsicle Stick (see below)
  • Metal Washer
  • Two 8 oz canning jars
  • 8 oz. Beeswax
  • Label
  • Pyrex bowl
  • Disposable chopstick or bamboo skewer

It takes approximately 4 cups of bayberries to yield 1 cup of wax. Start by picking mature bayberries; they should be fragrant, blue-gray, and waxy. This recipe will make two 8 oz. candles for gifting.

Place the bayberries in the saucepan, cover with water, bring it to a boil, and cook for 10 minutes. Remove the pan from the heat and allow it to cool. Once fully cool, the wax will harden and can be removed by hand from the pan. Be sure to remove any stray berries. The wax should be olive-green and fragrant. Your saucepan will smell of it forever, which is why we recommend purchasing an inexpensive saucepan just for candle making.

Fragrant bayberry wax is generally mixed with other natural wax, such as sweet-smelling beeswax, to make candles. Place the bayberry wax in a Pyrex bowl (preferably with a spout) along with the beeswax. Place it over a saucepan of water, double-boiler style, and bring it to a low boil until the wax has melted. Mix the waxes together with the wooden chopstick.

Tie the wick to the washer and dip it in the wax to prime the wick. Center the wash at the bottom of the candle and use the clothes pin to hold the wick at the center of the jar. Then slowly pour the melted wax in, being sure to leave 1/2 inch of headspace at the top. Repeat with the second jar.

Label your candles, secure their lids, and you are done!
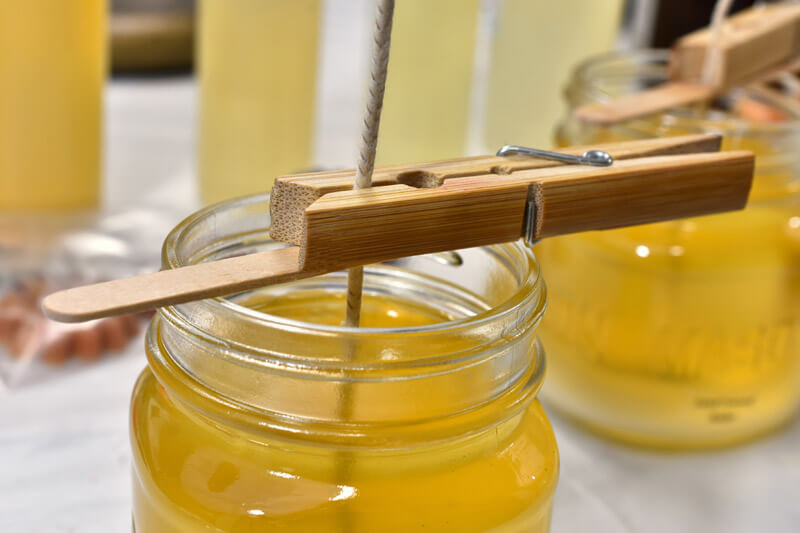
Homemade candle with clothespin to keep the wick centred
When making any candle be sure to prime and center the wick. A clothespin lengthened with a popsicle stick glued to the base works well. Trim your wick once the wax has hardened.

Ten Tips for Beautiful Container Gardens

Ten Tips for Beautiful Container Gardens Featured Image
Good care will keep your potted plants looking pretty.

You have purchased your pot, invested in potting soil, planted up your plants, and your container garden is well underway. In the cool of late spring, as container plants are rooting in, there are few stresses to disrupt your plantings. But, as plants grow and the summer heat ramps up, lots can go wrong. Here are tips for getting it all right.

The first half of successful container planting starts in the planning stages, by choosing the right pots, plants, soil, and fertilizer. The second half is knowing what to do to keep your container gardens looking great. Here are our top ten tips for container care from start to finish.

Pre-Planting Container Garden Tips

Colourful high-fired quality ceramic pots
High-fired, quality ceramic pots hold water well and overwinter better. Lighter-colored pots stay cooler in hot weather.
  1. Choose the right pot – Large containers made of the right materials helps plants grow more happily through summer. Big pots hold more water, provide more root space, and remain cooler to encourage good growth through the hottest summer days. Pots made of water-impermeable materials, such as stone, glazed ceramic, plastic, or resin, hold water better. TerraCotta and porous cement pots wick water away from roots because they are porous, so they are better suited to drought-tolerant plants or succulents. Containers that are light in color are better for sunny plantings because they reflect the heat of the sun. Pots must drain well and have a saucer, internal reservoir, or basin to capture excess water. Those with a self-watering base must have an overflow hole to protect against the possibility of overwatering.
Fafard Ultra Outdoor Planting Mix pack
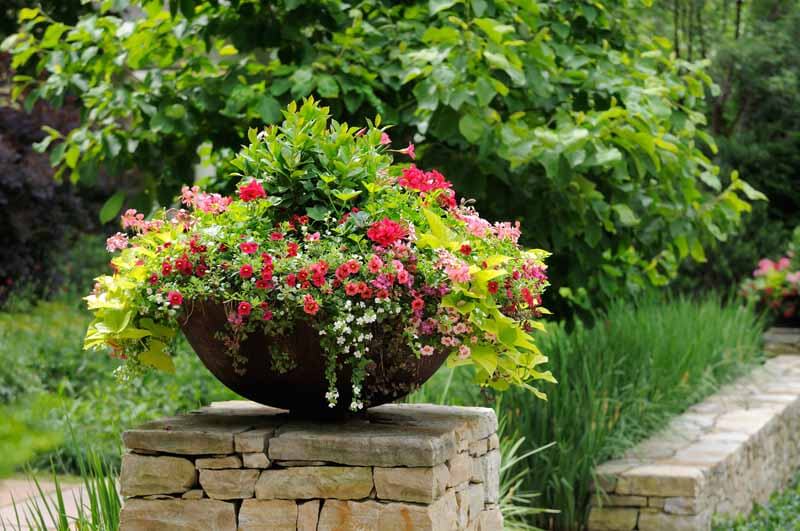
Metal bowl planter with Calibrachoa, sweet potato vine, Bacon, and geraniums
Overstuffed containers, like this metal bowl planter with Calibrachoa, sweet potato vine, Bacopa, and geraniums, look good in early summer but are often overcrowded by midsummer.
  • 3. Choose the right plants and numbers. Will you place your containers on a sunny patio or window box, shaded porch, or bright, windy veranda? Is your summer climate hot and dry or mild and cool? The plants you choose must grow well in their destined location and in your local climate. Gardeners planting for sun must choose heat and drought-tolerant plants (click here for a list of Waterwise container plants), while shade-loving plants such as Begonia, Browallia, Impatiens, Torenia, and ferns are good choices for pots in partial to full shade (click here to learn more about growing Torenia). Consider the final size of each plant when designing containers, and do not overstuff the pots. Crowded plants compete for space, light, water, and nutrients, which causes them stress. Before planting, read about your plant’s needs and space them properly to ensure their best performance.
  • 4. Choose the right fertilizer. Gardeners with little time should choose an all-purpose slow- or continuous-release fertilizer to apply at planting time. Vegetable and fruit containers should be fed with plant food specially formulated for edibles. Water-soluble plant food can give plants an extra boost to encourage renewed growth and flowering midseason–particularly after plants have been trimmed and deadheaded.
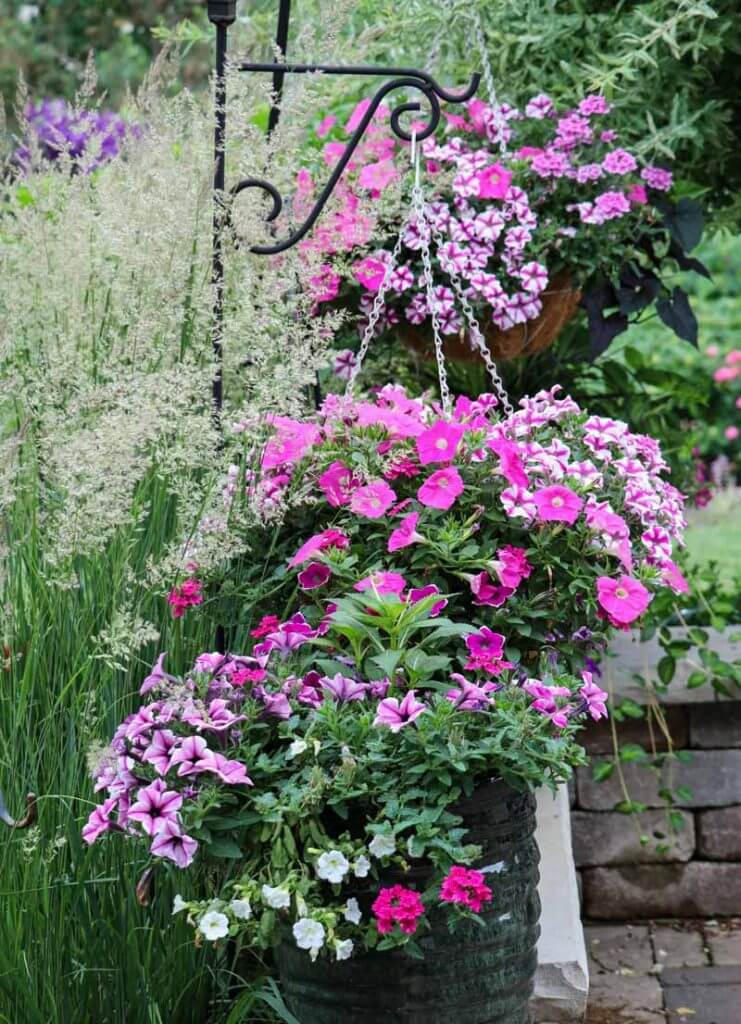
Hanging summer annuals
Most summer annuals cannot be planted outdoors until the threat of frost has passed.

Post-Planting Container Garden Tips

Watering plants
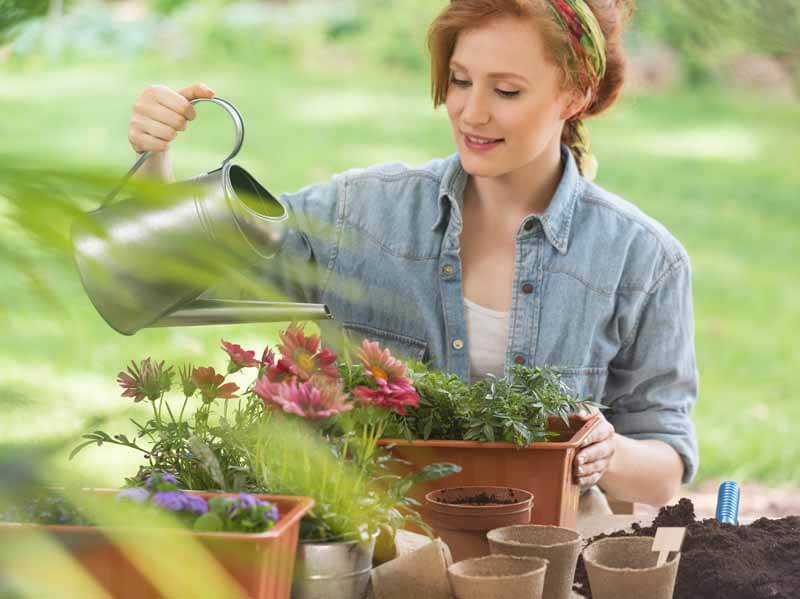
Good watering technique is essential to successful container gardening.
  • 6. Know when and how to water. Good watering technique is all about common sense. Most garden flowers like lightly moist soil. If the soil is too wet for too long root rot will occur. If it’s too dry for too long plants will begin to wilt and die. When conditions are sunny, dry, hot, and breezy, plants use and lose more water (drawn up through their roots and lost through their leaves) and need more water. Likewise, when it has been rainy, cool, and still the need for water is reduced. Feel the soil before you water to determine if more is needed. If it is needed, irrigate until it flows from the bottom of the pot to ensure all the roots get moist.
Outdoor plants
Well watered and fertilized plants will look lush and flower and fruit well.
  • 7. Know when to fertilize. Slow- or continuous-release fertilizer formulated for flowers makes feeding easy because applications are needed every few months, depending on the product. Apply at planting time and then as directed. Water-soluble fertilizer will encourage further flowering and growth during the height of summer. Containers also need a boost of water-soluble food after they have been trimmed back in mid- to late-summer. Proven Winners offers both a premium continuous-release and water-soluble fertilizer that we recommend for flower-filled containers.
Trimmed petunias
Many petunias continue looking good and blooming for longer if they are trimmed back later in summer.
  • 8. Know if and when to prune and deadhead plants. To maintain any plant properly, read about its care. Some flowering plants are self-cleaning, such as sweet alyssum, Supertunia petunias, and Profusion Zinnias, while others, such as old-fashioned petunias and dahlias, need to have their old blooms removed to make way for new. Old-fashioned petunias, calibrachoa, and verbenas can become leggy, less productive, or overtake the pot as the summer wanes. Cutting the old stems back can rejuvenate growth and flowering for fall.
Old summer containers with fall elements and flowers
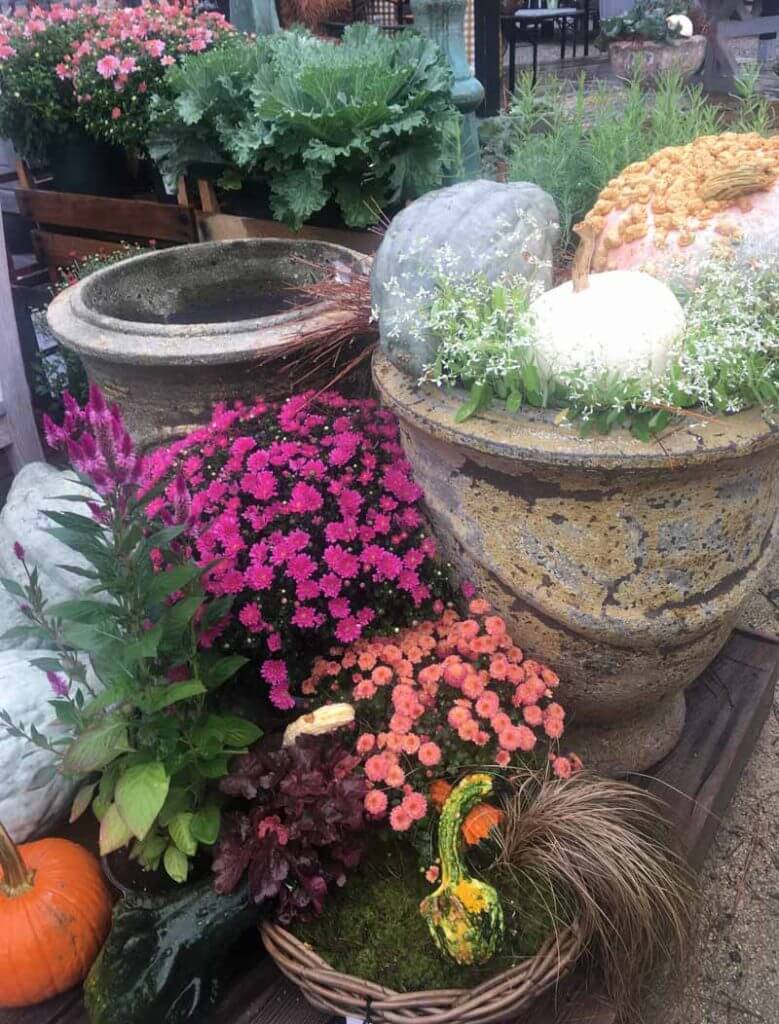
Reviving old summer containers with fall elements will give them a needed seasonal boost.
  • 9. Know if and when to replace seasonal flowers. The pansies and stocks of spring often die back in the heat of summer and need replacement with warm-season summer flowers. Summer annuals that begin to look tired by early fall, like marigolds or traditional petunias, should also be replaced with seasonal pansies, peppers, or ornamental kale to keep containers looking great. (Click here to learn more about container gardening with ornamental peppers.) Don’t be afraid to replace struggling annuals when they start to visually bring a container down.
Winter pot in snow
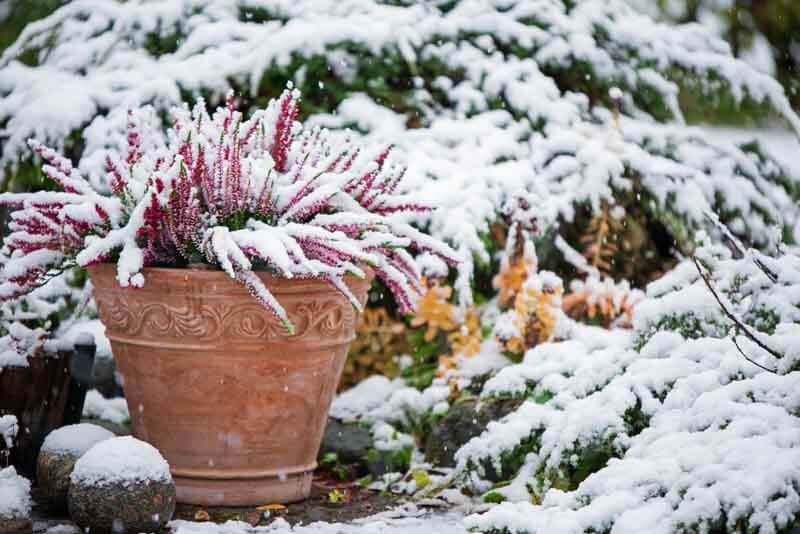
Be sure that winter pots are crack-resistant.
  • 10. Know how to overwinter pots. Be sure you choose the right pots if you want to overwinter containers outdoors (click here to read about overwintering containers). If your pots contain small shrubs or perennials, place them in a protected spot. Seasonal containers can be placed in a garage, basement, or under a dry porch where they will not become damaged by the freezing and thawing of winter.

Once you have the basics down, monitor your containers, protect them from pests and diseases, give them good care, and they will reward you with season-long beauty.