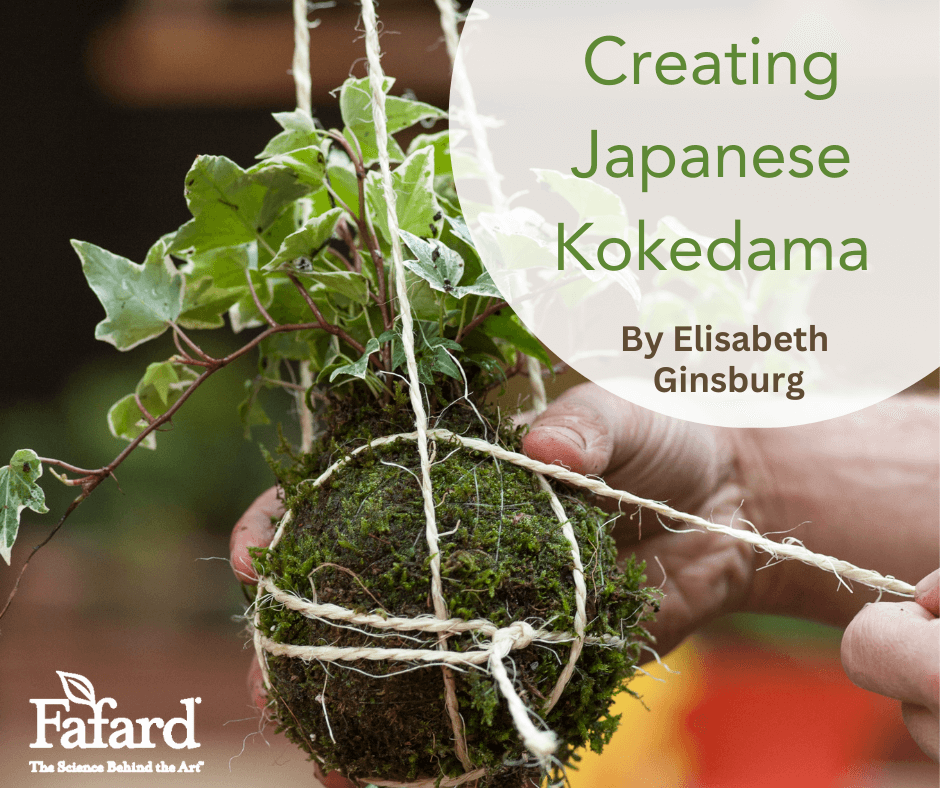
February can be the longest short month for gardeners. In cold winter climates it is frequently too soon to get out in the garden and work. Elsewhere it may be gray, rainy, and dismal. Indoor gardening is a good way to beat the cold-weather doldrums, and the Japanese art of kodedama is a relatively easy, inexpensive means of enjoying a green project indoors.
What is Kokedama?
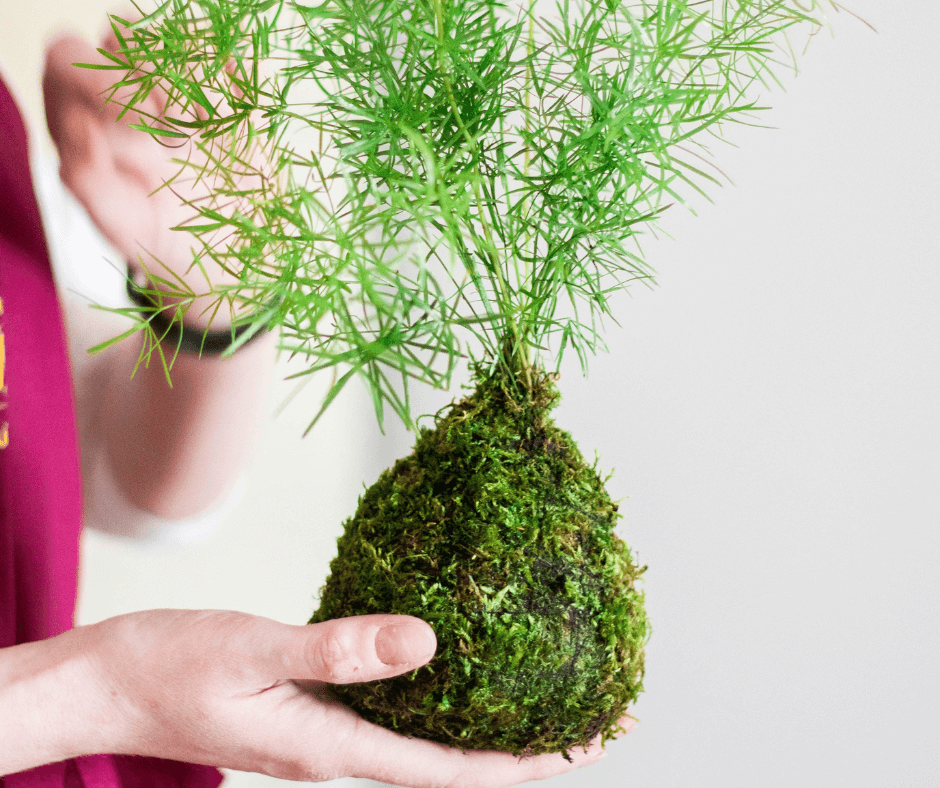
Kokedama means “moss ball” in Japanese, and the words define this container-free method of growing small to medium-sized houseplants in mossy orbs of potting medium. Instead of a pot or other vessel, the plant of your choice grows in a soil mixture enclosed in a sheet of sphagnum moss (typically) and held together by nylon or burlap garden twine. The result can be hung from the ceiling or displayed on a decorative plate or tray.
Kodedama is interesting enough for adults and a great activity for children, with adult help and supervision.
Picking a Kokedama Plant
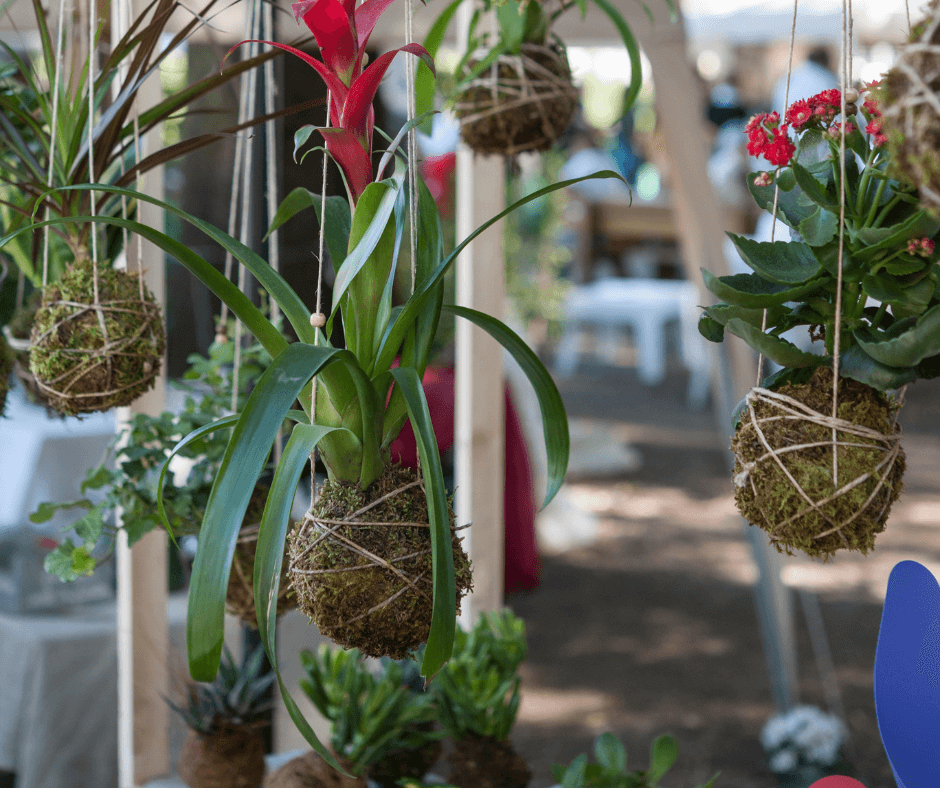
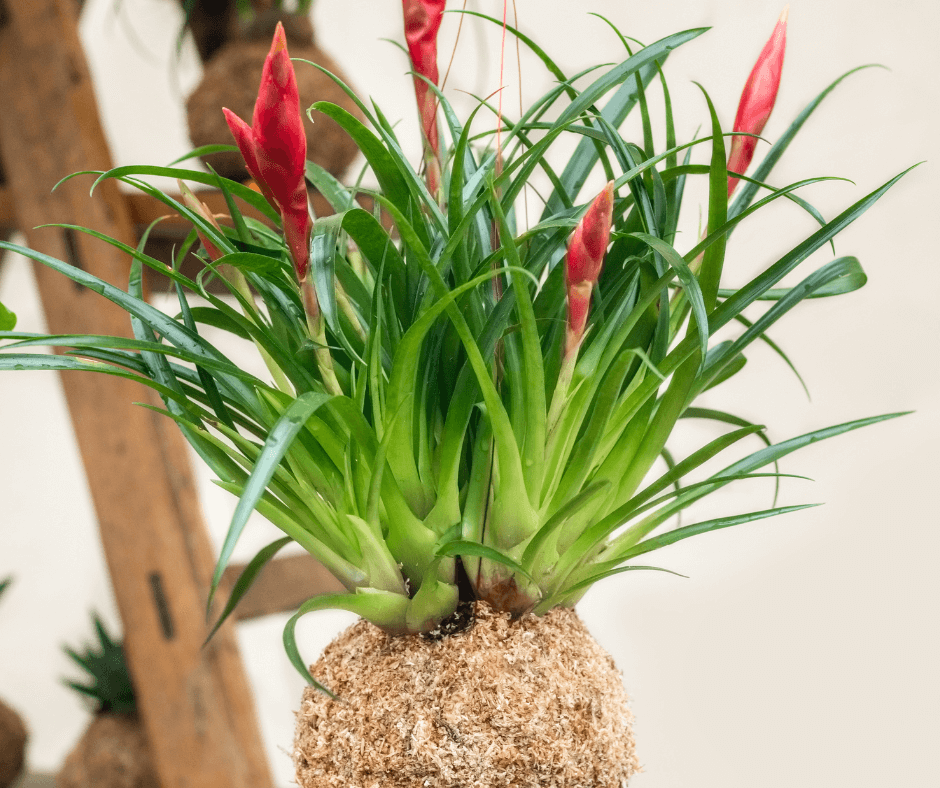
Almost any small to mid-size plant that does not spread will work. If you plan to hang your kokedama, try English ivy (Hedera helix), asparagus fern (Asparagus setaceus), or trailing heart-leaf philodendron (Philodendron hederaceum). For a flowering ball, think about African violets (Saintpaulia hybrids, click here to read more), flowering kalanchoe (Kalanchoe blossfeldiana), or bromeliads, like terrestrial Tillandsias or Guzmannia. Dwarf fancy-leaf begonias make showy kokedama. If you have a sunny space and love succulents, smaller specimens will also grow well.
Think about where you will display your finished moss ball and choose plants that flourish in the available light. Flowering subjects generally like more light than foliage plants.
Raw Materials for Kokedama
Like any good recipe, kodedama starts with an ingredient list. Necessary kokedama supplies:
 Sphagnum sheet moss or loose coarse sphagnum moss
- Well-aerated potting mix or bonsai soil (available at some garden centers or online)
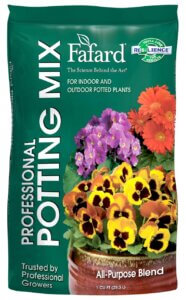
- Quality standard potting mix, like Fafard Professional Potting Mix
- Garden twine or nylon filament
- Large bowl
- Scissors
- Garden or rubber gloves
Have all of your materials ready before starting. The process can get messy, so work on an easy-to-clean surface or cover the work area with plastic or paper.
Creating Kokedama
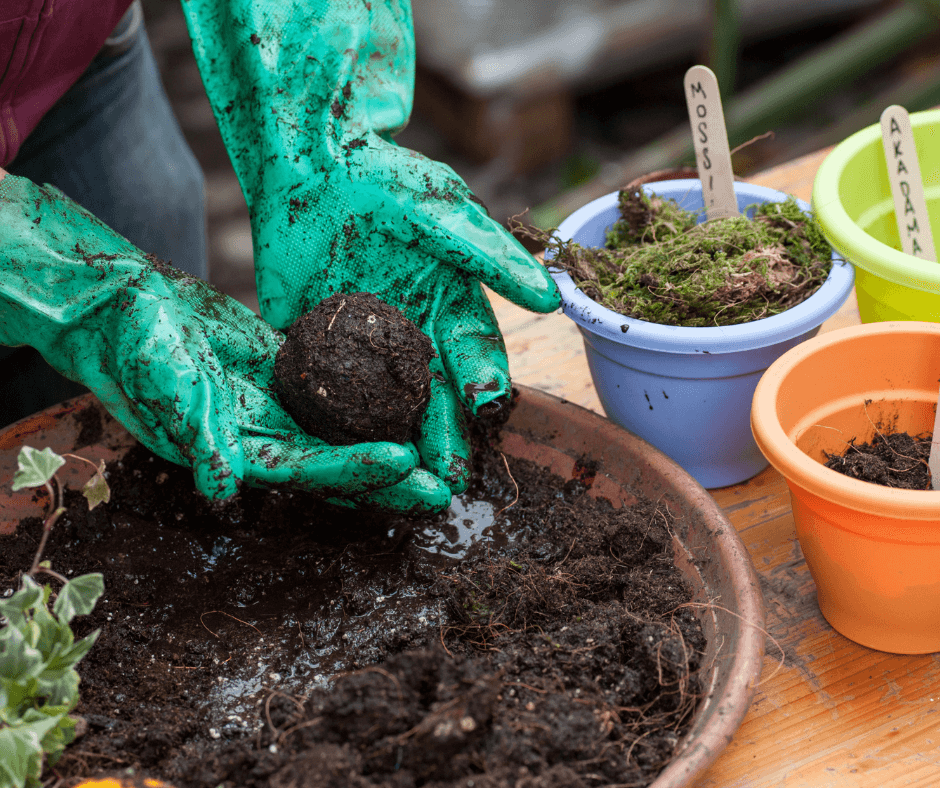
Assemble the chosen plant, plus all the ingredients, with a water source nearby. Your finished kodedama will probably be 5 to 8 inches wide, depending on the size of the plant.
Put on your gloves. Soak the moss in water for a few minutes to make it pliable. In a bowl, mix equal parts of the bonsai and potting mixes. Begin adding water, a little at a time, until the mixture holds together when scooped up in your palm.
Form the mixture into a ball (like making a snowball). When you have a cohesive ball, split it by cutting or twisting. Remove the plant from its container, and gently remove the excess potting mix, but be sure not to harm the plant’s root ball. Insert the plant between the two halves and then reform the soil ball around the plant, patting and turning until the mass holds together. Be careful not to bend or harm any of the plant’s stems.
Wrapping Kokedama
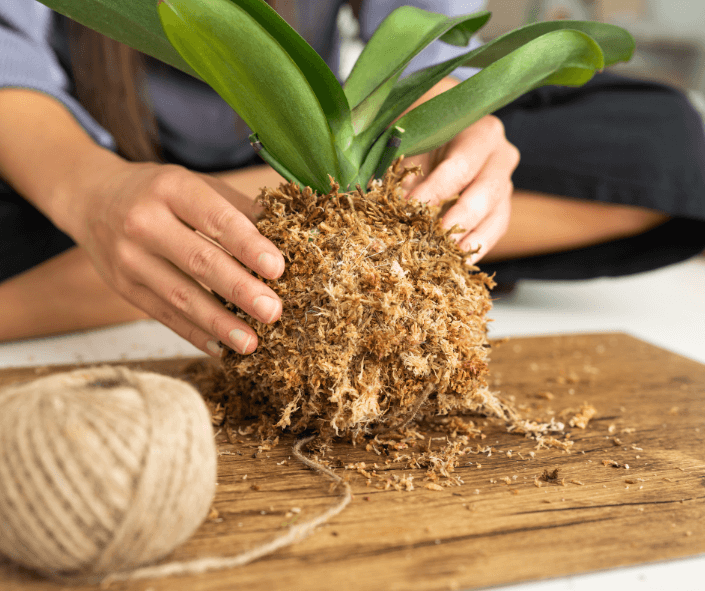
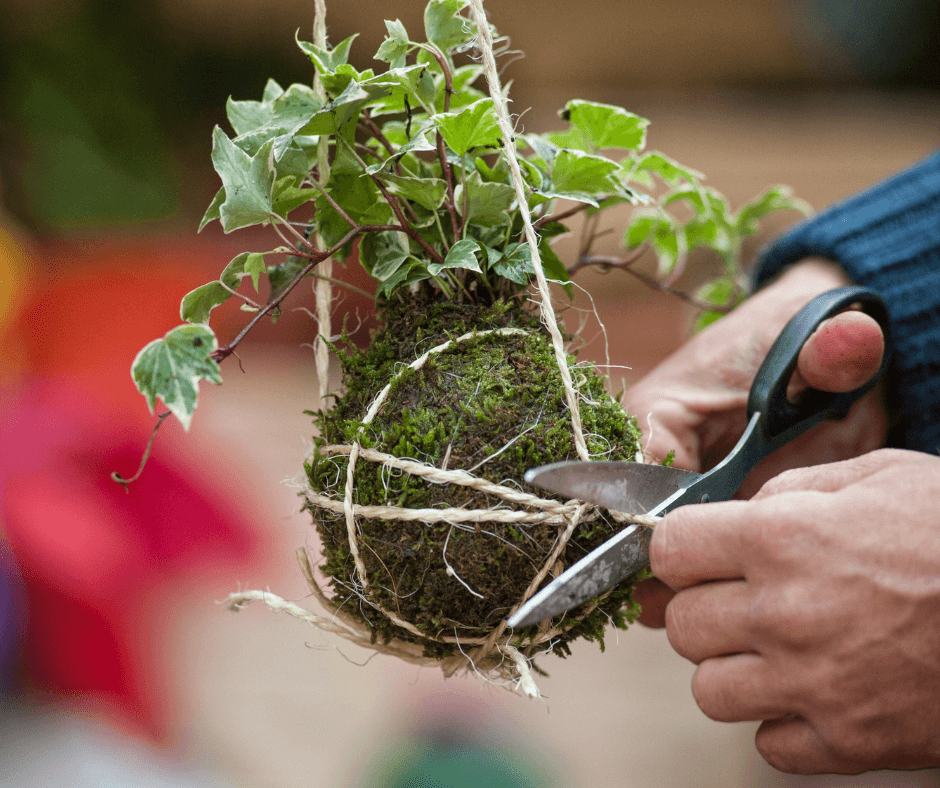
Place the plant ball atop the moistened piece of sheet moss and pull the sheet moss up around the ball, tucking it at the base of the plant. Take the twine or filament and wrap it around the middle of the ball, leaving about six inches free to tie at the end of the process. Continue to wrap twine around the moss (like winding yarn into a ball), until the kokedama is held securely. If you are going to hang the finished creation, make a couple of hanging loops of the same length at the top of the ball and tie them together (see the image under Picking a Kokedama Plant). Trim and loose ends of twine or tuck them under. The kokedama is finished and ready to hang or display.
Aftercare and Keeping Kokedama Going
As you might expect, you can’t just water a kokedama with a watering can unless you want a drippy mess. The best way to water is to soak the ball in a bowl of water for about five minutes and then let it drip dry for half an hour or so in a strainer or colander. Watering frequency may vary depending on the plant type and also the level of humidity in the air. If the ball feels relatively light and/or the leaves are droopy, the kokedama needs a drink. Dry air may mean watering every few days. Feed by using soluble fertilizer diluted according to the manufacturer’s directions and added to the water in which you soak your kodedama,
Most plants, even slow-growing succulents, will eventually outgrow their kodedama packages. When that happens, you can either use the plant to make a bigger kodedama, install it in an appropriately sized container, or, in the case of a perennial plant, transfer the former kodedama subject to the garden.

