
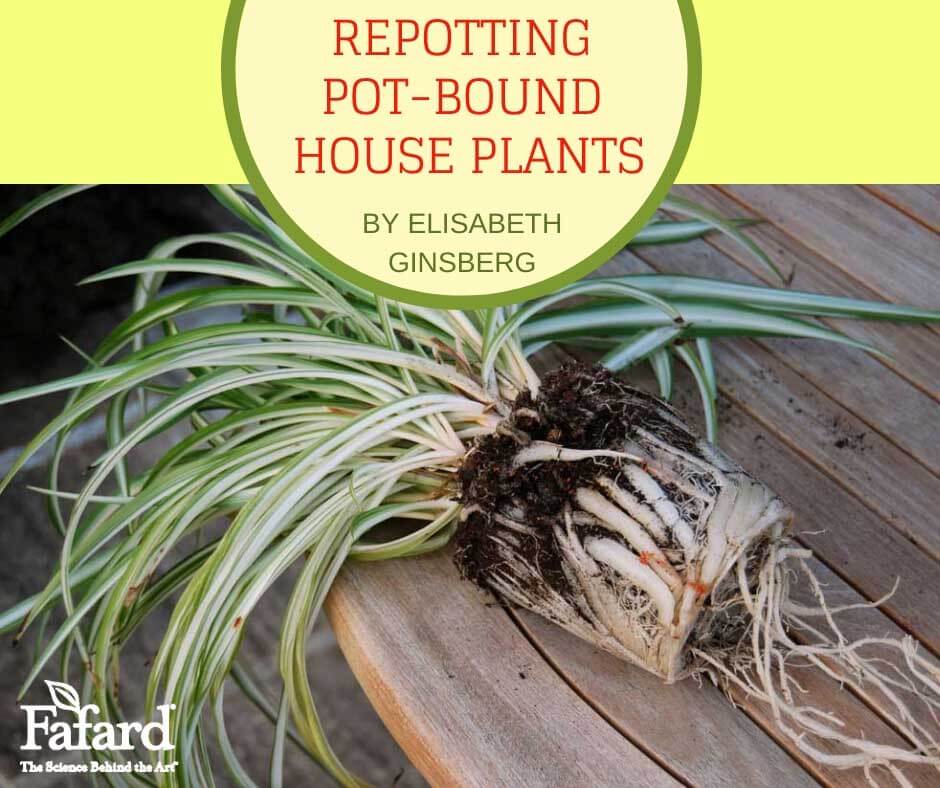
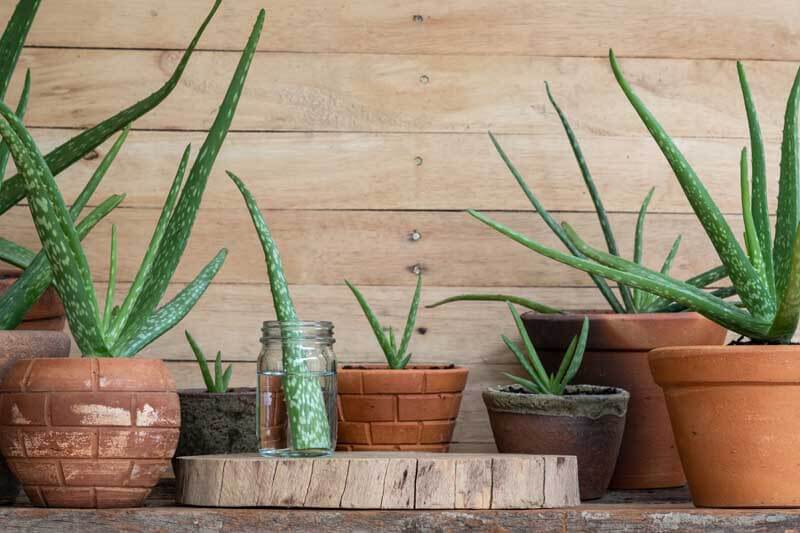
There is no shame in harboring a pot-bound plant. It can happen to anyone because pot- or root-bound specimens come in all sizes, shapes, ages, and situations. The geranium or aloe that spent a luxurious summer vacation on the back porch may be bursting out of their containers. The bargain spider plant, purchased from the garden center at the end of the growing season, may be yearning to break free of its nursery pot. Established house plants, apparently thriving in large or small containers are longing for a little elbow room, even if they can’t say so.
Identifying Pot-Bound Plants
How can you tell that a seemingly healthy plant needs a bit of TLC in the form of a larger pot and some root pruning? Tip the container on its side. If you see white roots emerging from the bottom drainage holes, your plant is pot-bound. If the plant’s soil dries out quickly, despite regular watering, chances are the roots need discipline. Does water pool on the soil surface and stay there? Tightly wound roots are probably preventing moisture absorption.
When plants are pot-bound, roots that should be growing outward from the bottom and sides of the plant are forced to grow in a circular fashion, following the shape of the container. Those roots will eventually form a tight mass that will overwhelm the pot, potting medium, and eventually strangle the plant. As the situation gradually worsens, the signs of ill health—leaf drop, minimal new growth, and a general failure to thrive—begin to show.
What to Do
There are several steps to removing a pot-bound plant from the pot. Some plants may be tough to remove and others easier.
- Check the drainage holes at the bottom of the pot, and cut clear any roots that may be growing through. You may even try to push up through the holes to help loosen the plant from the pot.
- Get a grip on the plant—literally. Tip the pot on its side, firmly grip the very base of the plant, and pull it out of the container. The tightly constricted soil-root ball should come out in one piece, but not always.
- If clinging roots keep the plant in place. Run the blade of a garden or butter knife around the edge of the pot to loosen the plant. If the pot if plastic, you can also firmly wack the pot on all sides to loosen roots. Plastic nursery pots can also be cut off, if the roots are wedged into pot crevices and refuse to budge.
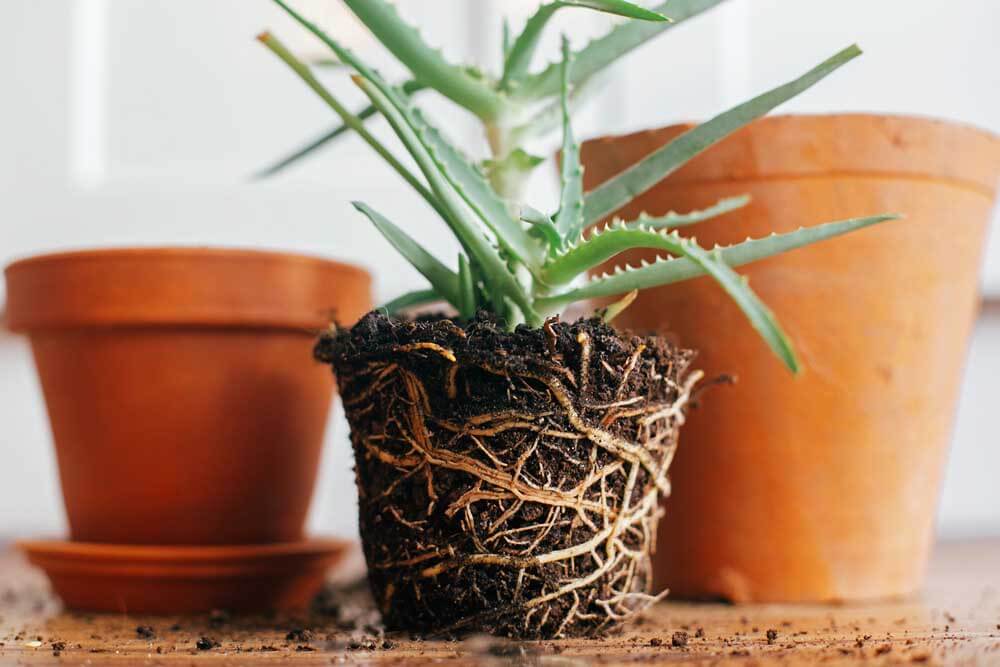
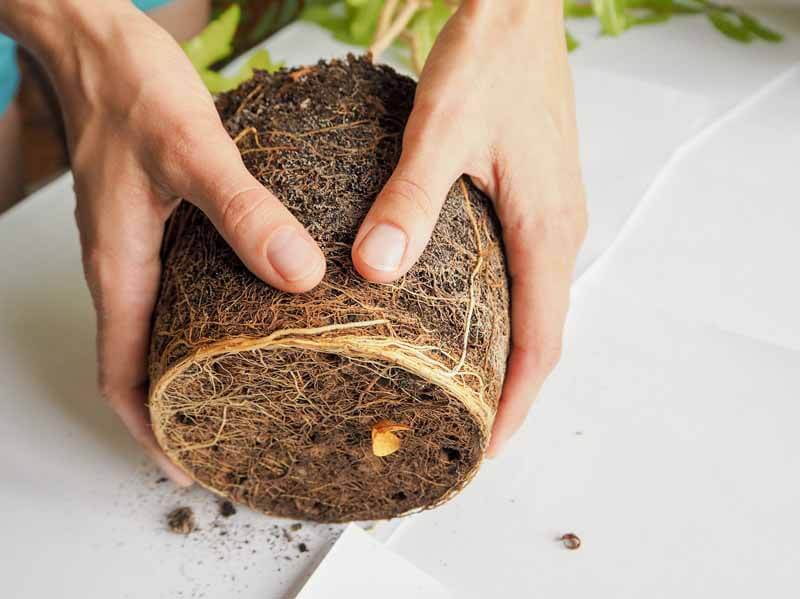
Once you have liberated the root ball, take a look. Pot-bound plants will have a dense network of white or brownish roots encircling the outside, which retain the shape of the pot. If you see any black or foul-smelling roots, trim them away immediately.
Freeing Pot Bound Plants
The next step is to free the roots, so they can begin the process of healthy growth. This is when fear sets in for many plant lovers who worry that meddling with roots is the kiss of death for a beloved plant. In truth, freeing up roots is essential for plant health in this situation. Some roots will be lost in the process but new will quickly grow.
The remedy for a pot-bound situation depends on the degree of root entanglement. With some plants, especially smaller ones, gently teasing the roots apart with your fingers may be all that is needed. In more severe cases, where the root ball appears to have more roots than soil, more serious measures will be necessary.
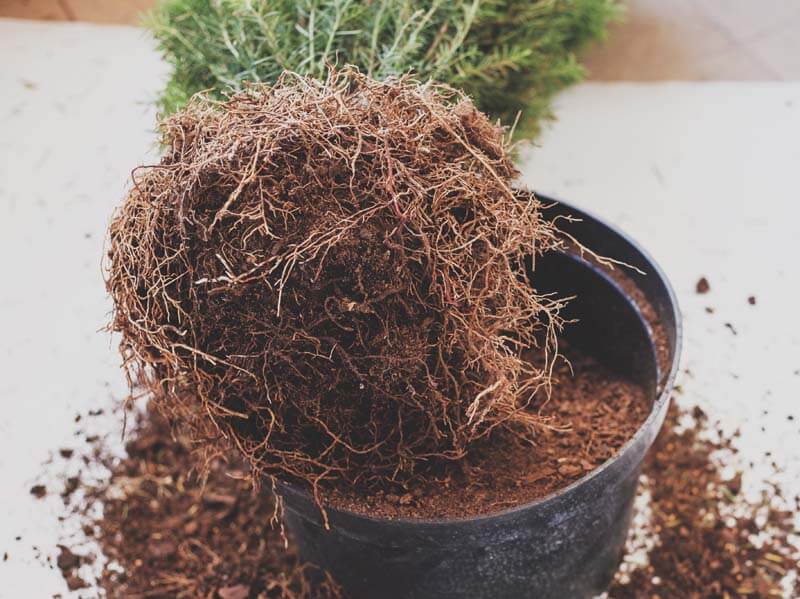
For serious cases, use a garden knife or other sharp implement to make three or four vertical cuts on the outside of the remaining root ball, and then tease the roots apart with your fingers. If the root ball is deep, you may also cut away the bottom quarter of the root ball. Both options disrupt circular root growth and enable fresh, healthy roots to emerge.
Container Selection and Preparation
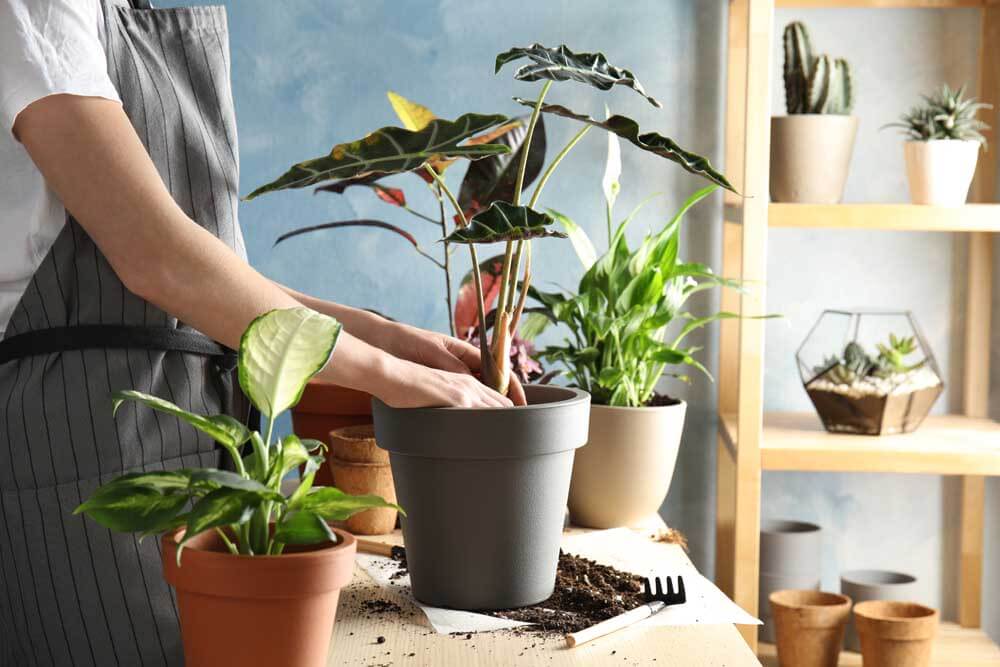
Once you have relieved a plant’s root-bound situation, it is time to repot. This is much easier and less stressful than teasing the roots and/or doing root pruning.
Choose a container with a diameter that is at least 2 inches wider than the old pot. Make sure it is clean and has sufficient drainage holes in the bottom. Keep soil from falling through the holes by lining the bottom of the new container with a coffee filter or piece of window screen cut to fit. For years, garden pundits suggested adding a layer of gravel to the bottoms of plant containers, but this is not necessary.
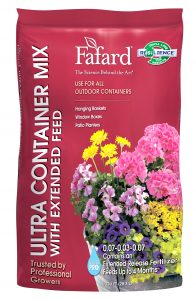
To give the newly liberated plant a good start, choose a potting medium like Fafard Professional Potting Mix for indoor plants or Fafard® Ultra Container Mix with Extended Feed for indoor/outdoor potted plants. Pour enough potting mix in the bottom of the container so that the top of the plant’s root ball is about 1 to 2 inches below the container’s rim. Center the plant in the pot and fill around the sides with additional potting mix, tamping down the mix as you go. Water thoroughly until water runs through the drainage holes.
As long as you provide new, larger living quarters for the plant, root loosening efforts will stimulate new, strong root growth. In the case of some house plants, like spider plant, you may be able to divide your specimen when you treat its pot-bound condition. In this situation, follow the directions above, but split the plant into two or more pieces (each section should have roots). Repot in separate containers and keep or give away the new plant divisions.
Aftercare
Sometimes a newly repotted plant will show some signs of transplant shock, losing some leaves or looking a bit droopy. Don’t worry, and above all, don’t kill the plant with kindness by overwatering. Position the plant in the appropriate light situation (check plant tags or ask our garden experts if you are not sure), and water when the top inch or two of the potting medium feels dry. New root growth will start in a short time and the plant should rebound nicely.

In the end, liberating pot-bound plants is a beneficial exercise for both gardeners and plants. As with all things, practice makes perfect, but remember that it is hard to go completely wrong, and plants are generally quite forgiving. Giving your favorite specimens a little elbow room will ensure more years of vibrant leaves, blooms, and growth.
(Click here to watch a step-by-step video showing how to free pot-bound plants.)